
Last updated October 16, 2026
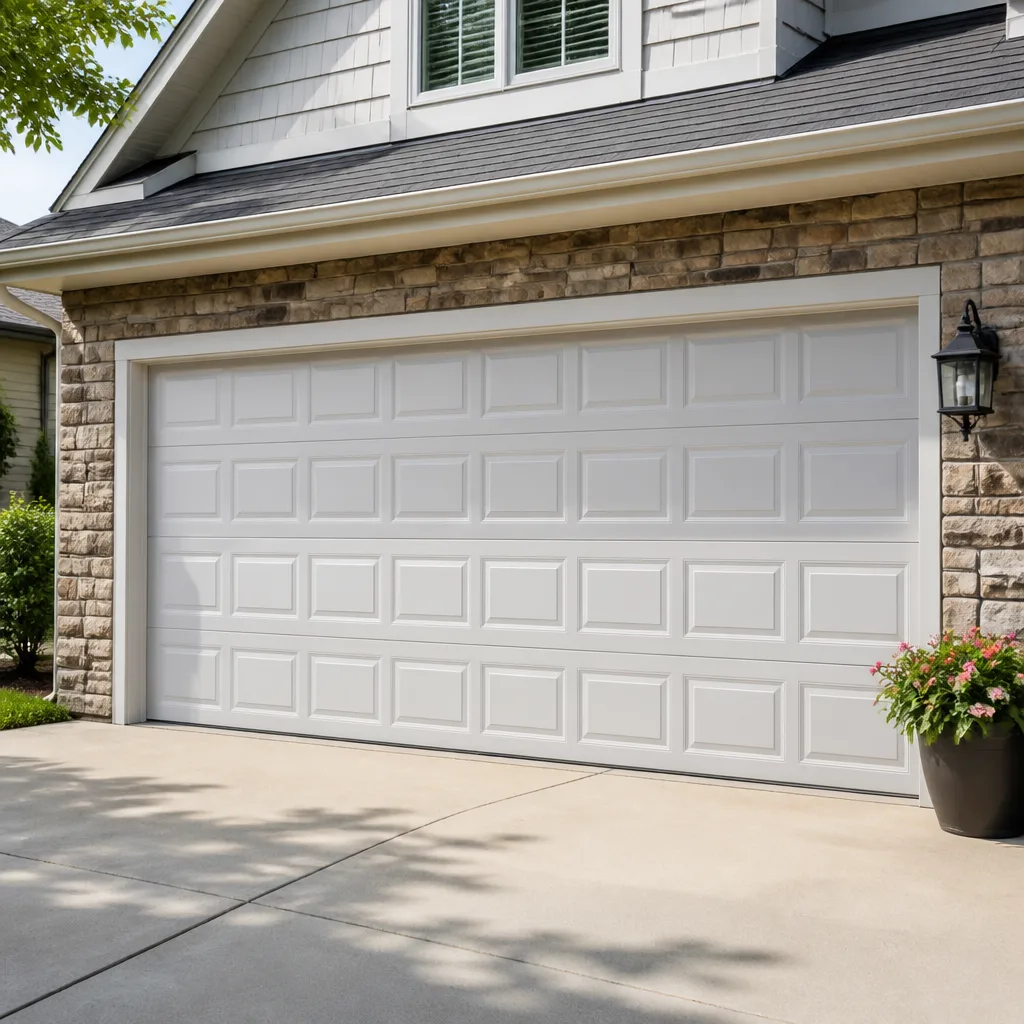 Raised-panel steel
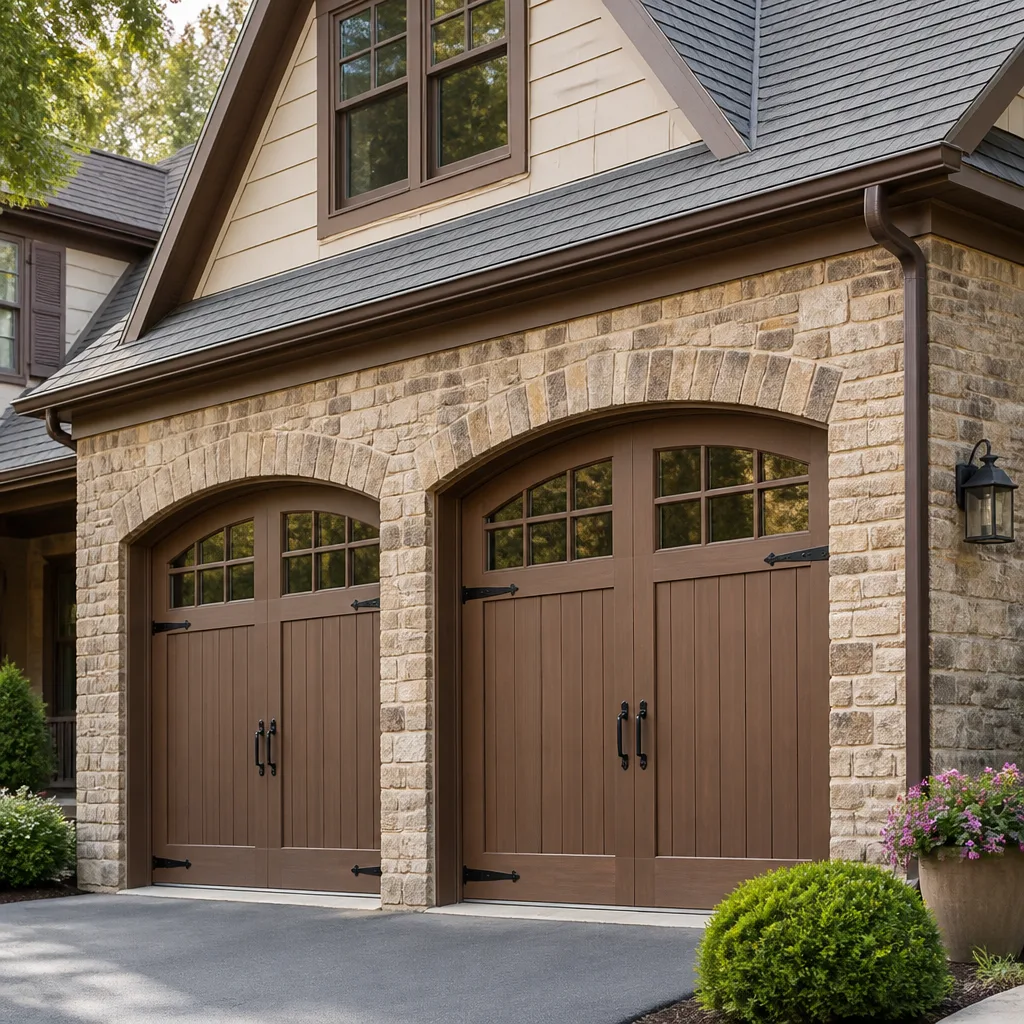 Carriage house
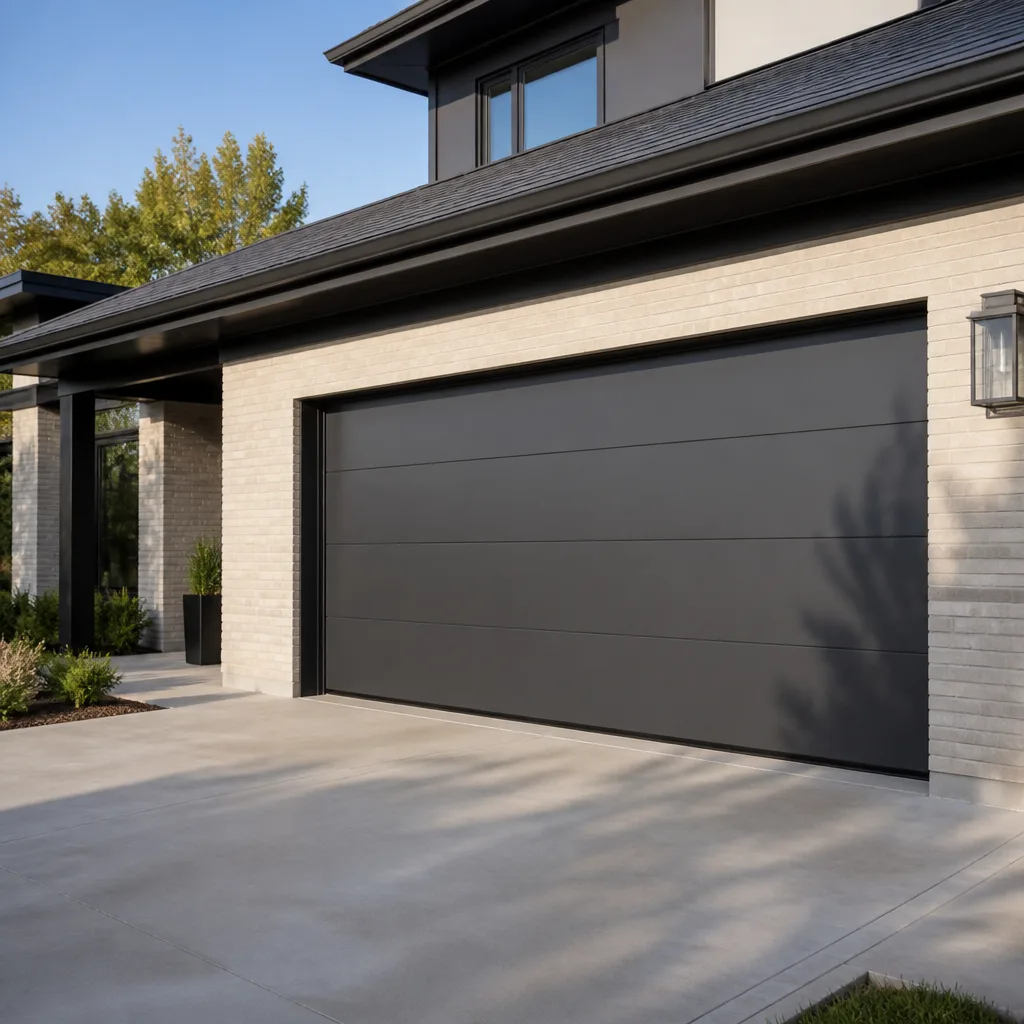 Modern flush
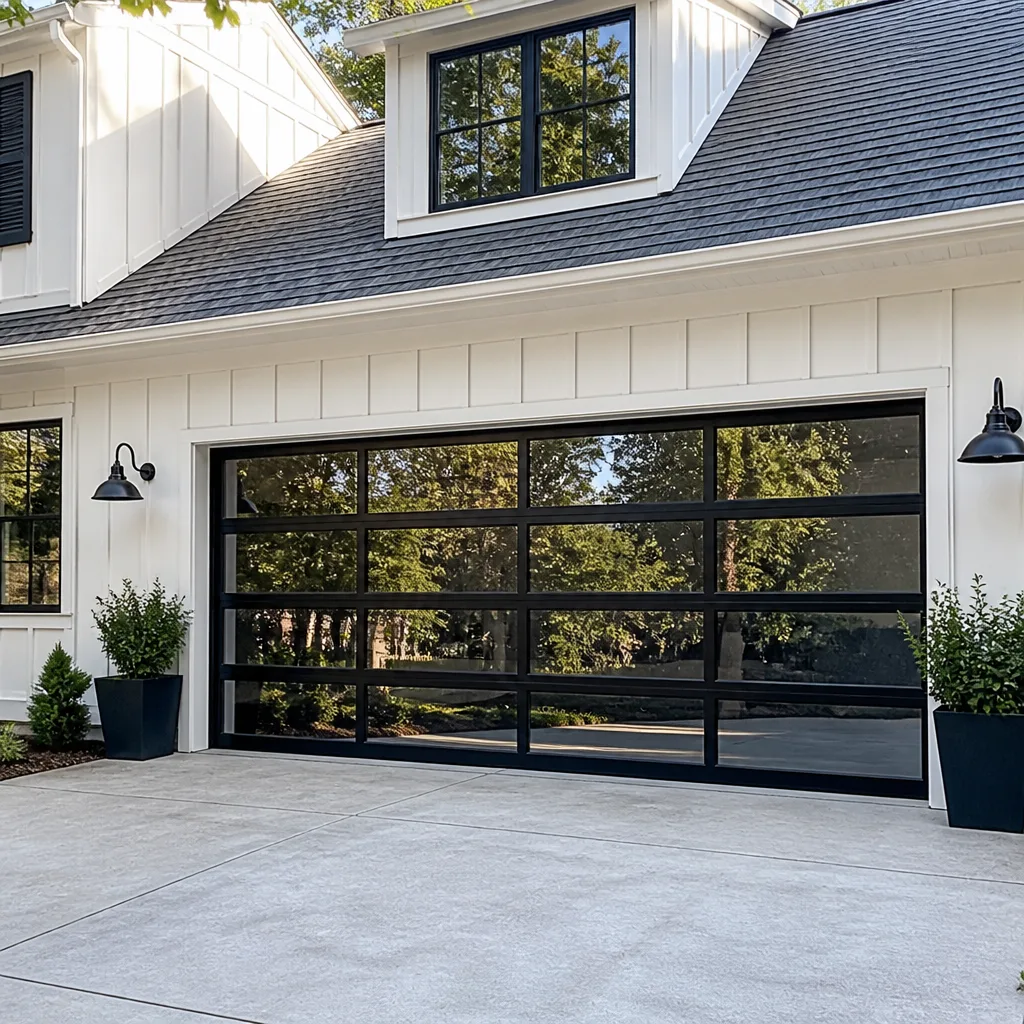 Full-view glass
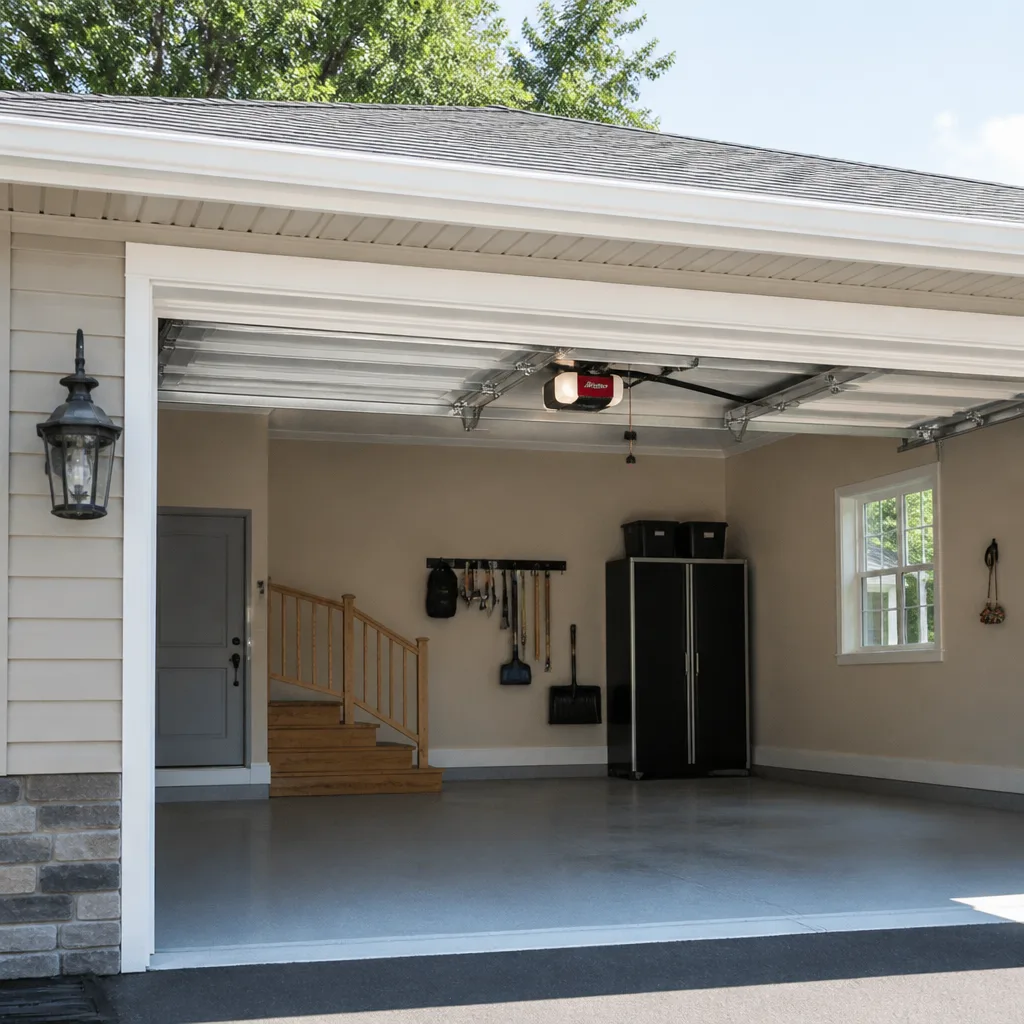 LiftMaster openers
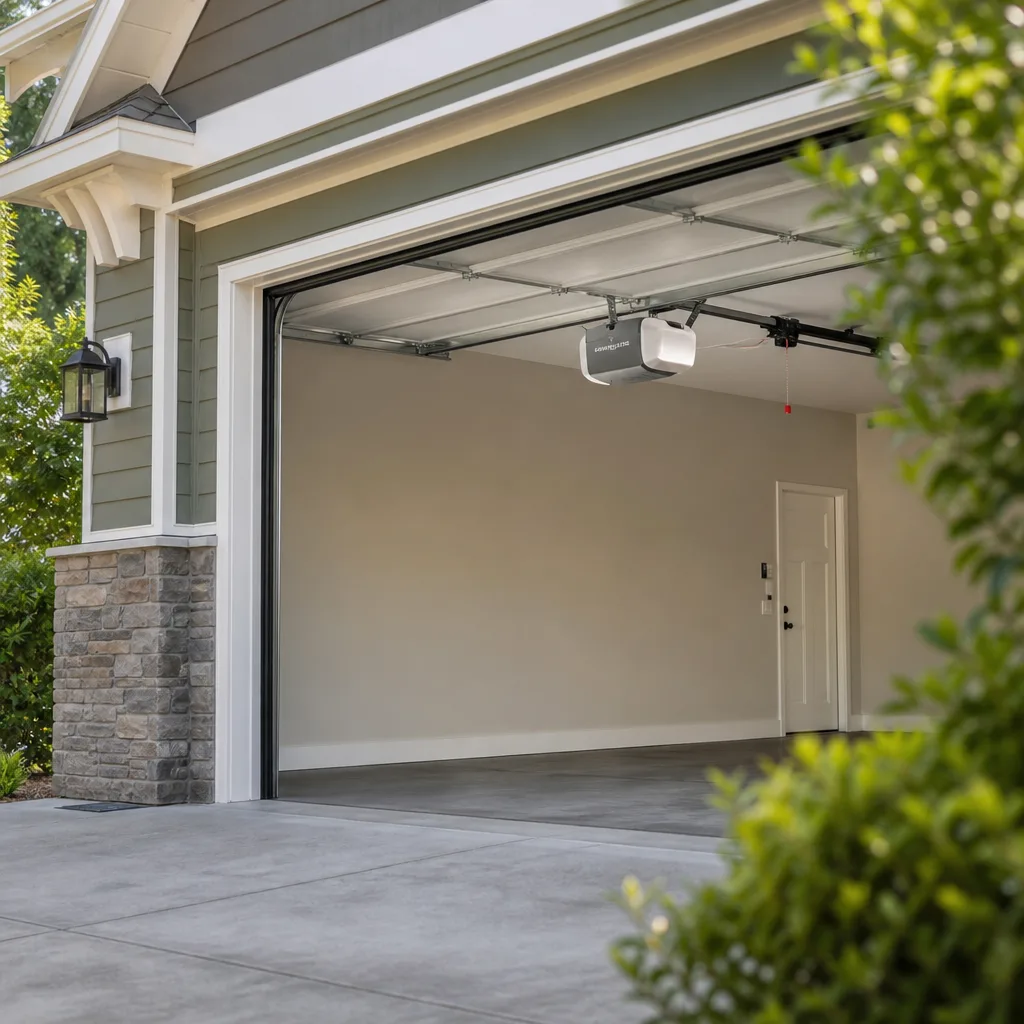 Chamberlain openers
Full 25-point door and opener safety check with every visit - springs, cables, rollers, tracks, and your LiftMaster or Chamberlain opener included
You get a price before we start. It does not change when the truck arrives.
Get your free estimateGarage Door Repair Maintenance Checklist for Tampa Homeowners
Most maintenance checklists you’ll find online are written for places with four seasons and hard freezes. They tell you to check your weatherstripping for ice damage and prepare your springs for sub-zero contraction. None of that applies here. In Tampa, your garage door fights a different battle every single day: salt air, 90% humidity, afternoon thunderstorms that roll in like clockwork, and a hurricane season that lasts six months. Lubricating your tracks in January is on every generic checklist, but in Tampa, the move that prevents a huge share of the service calls we see is far simpler and almost no guide mentions it: rinsing salt residue off your hardware roughly every six weeks. This guide is built for what Tampa actually does to a garage door, month by month, storm season by storm season. By the end, you’ll know exactly what to check, what to skip, and when to stop and call someone before a small problem turns into a door that won’t open or a spring that snaps under tension.
Quick Answer
A Tampa-specific garage door maintenance checklist should focus on salt-air corrosion, humidity swelling, and hurricane-season preparedness rather than freeze damage. Run a 12-point inspection twice a year (April and October), rinse salt residue off all metal hardware every six weeks during the humid months, test your auto-reverse safety function monthly, and complete a pre-storm checklist whenever a named storm is 72 hours out. Most of this takes under 20 minutes and keeps you out of expensive repairs.
Styles & brands we work with
Table of Contents
- Why Tampa Garage Doors Fail Differently
- The 12-Point Tampa Inspection: Your Twice-Yearly Routine
- Which Lubricant to Use (and Which to Avoid in Humidity)
- Testing Your Auto-Reverse: The Most Skipped Safety Check
- Humidity Damage: Warped Panels and Swollen Trim
- Pre-Storm Checklist for Hillsborough County Homeowners
- Common Mistakes to Avoid
- When to Call a Professional
- Frequently Asked Questions
- The Bottom Line
Why Tampa Garage Doors Fail Differently
A garage door in Minneapolis fails because of cold. A garage door in Phoenix fails because of dry heat and dust. A garage door in Tampa fails because of three things that work together year-round: salt, moisture, and storm cycles. If you live within a few miles of Tampa Bay or the Gulf, salt air settles onto your springs, cables, hinges, and tracks. That salt attracts and holds moisture, and the result is corrosion that eats at metal parts much faster than most homeowners expect. We regularly see springs in South Tampa and Davis Islands showing rust pitting after just three or four years, while homeowners assume springs should last a decade. Humidity is the second factor. Tampa’s average relative humidity runs 80 – 90% for most of the summer. That moisture travels into your garage, gets absorbed by wood frames and even some door panels, and causes swelling. A door that moves fine in February can stick or scrape in August. The third factor is storm season. High winds push against the full face of your door, which stresses hinges, brackets, and the torsion spring system. When a door is already weakened by corrosion or misalignment, storm pressure is what finally breaks it. That’s why the maintenance approach here has to be different from what works in Ohio or Colorado. You’re not preparing for winter. You’re managing a coastal, humid environment that wears garage doors down all year.
The 12-Point Tampa Inspection: Your Twice-Yearly Routine
Twice a year, in April and October, walk through this inspection. April gets your door ready for the heavy humidity and hurricane season ahead. October is your post-storm-season reset, checking what the summer salt air and wind cycles did to your hardware. Each check takes a couple of minutes. The full routine takes under 20 minutes. Do it on a Saturday morning with a flashlight and a rag, and you’ll catch most problems before they become $300 repairs.
- Rinse salt residue off all metal hardware. This is the single highest-impact step in coastal Tampa. Use a hose or a damp cloth to wipe down springs, cables, hinges, tracks, and brackets. Focus on any exposed metal. Do this every six weeks during the humid months, not just during your twice-yearly inspection.
- Listen to the door run a full cycle. Open and close it once, listening for grinding, squealing, or rattling. A healthy door is smooth and reasonably quiet. A squeal means friction. A grind means metal-on-metal contact. Both are fixable early and expensive later.
- Check the balance of the door. Pull the red emergency release cord (with the door closed), then manually lift the door halfway. If it stays in place, the springs are doing their job. If it drops or climbs, the springs are losing tension, and you should call a professional. Reconnect the release before moving on.
- Inspect the torsion spring for rust and gaps. The torsion spring is the horizontal coil mounted above your door opening. Look for rust, especially orange pitting or flaking. Look for any gap in the coil, which means the spring is starting to fail. Never touch or adjust a torsion spring yourself. It’s under enormous tension and can cause serious injury.
- Check the extension springs if your door has them. Extension springs run along the horizontal tracks on either side. Look for rust, stretching, or gaps. The same rule applies: do not adjust these yourself. Call a trained technician if you see visible wear or damage.
- Examine the cables for fraying. The cables run along the sides of the door and wrap around drums near the top. Look for broken strands, rust, or any sign that the cable is unwinding from the drum. Frayed cables are a near-term failure risk. A snapped cable can whip under tension and cause property damage or injury.
- Check hinges, brackets, and bolts. Every hinge and bracket should be tight and rust-free. Take a wrench and gently check that bolts haven’t loosened from months of vibration. Loose hardware causes misalignment, which causes uneven wear, which causes bigger failures.
- Inspect rollers for wear and wobble. Rollers should ride smoothly in the tracks. Nylon rollers with sealed bearings are the best choice in coastal Florida because they don’t corrode like metal rollers. If you see cracked plastic, wobble, or flat spots, they’re due for replacement.
- Look at the tracks for rust and debris. The vertical and horizontal tracks should be clean and free of buildup. Salt air causes rust, especially on the inside of the track. Wipe them down. Do not lubricate the tracks themselves; that creates a sticky gunk that collects debris and makes the door work harder.
- Inspect the weatherstripping along the bottom and sides. In Tampa, your weatherstripping matters for two reasons: keeping out rain and keeping out small animals and insects that thrive in humid climates. Look for cracks, gaps, or brittleness. Damaged weatherstripping is a simple and inexpensive fix.
- Check your door panels for warping or swelling. Walk outside and look at the door face in flat light. Panels that were once straight may show a bow or ripple. This is often humidity-related, especially on wood doors or doors with wood cores. Minor swelling can sometimes be managed; significant warping needs professional attention.
- Test the auto-reverse safety function. Place a roll of paper towels or a 2×4 flat on the ground under the door’s path, then close the door. The door should reverse within a second or two of contacting the object. If it doesn’t, your safety system is failing. We cover this in more detail below.
In our experience, the April and October routine catches the majority of issues while they’re still cheap to fix. The more consistently you do it, the faster you get at spotting changes. A cable that’s beginning to fray looks different from a healthy cable, and once you know what to look for, you’ll see it.
Which Lubricant to Use (and Which to Avoid in Humidity)
Lubrication in Tampa is a different game than lubrication in a dry climate. The wrong product attracts dust and eventually turns into a sticky paste that gums up your rollers and hinges. Worse, some common products actually accelerate corrosion in a high-humidity, salt-air environment. Here’s how to choose.
The right product is a garage-door-specific lubricant. Look for a lithium-based spray or a silicone-based spray designed for garage doors. Both are thin enough to penetrate hinges and roller bearings without leaving a heavy residue. White lithium grease is your best all-around option for metal-on-metal points. Silicone spray is good for rollers and hinges but doesn’t last as long on high-friction points like the torsion spring coil. A product we’ve had good results with in Tampa is Blaster Garage Door Lubricant, though any garage-door-specific lithium or silicone spray will do the job.
What you should never use in Tampa: WD-40. Despite its reputation as a universal lubricant, WD-40 is primarily a solvent and water displacer, not a long-term lubricant. It evaporates quickly and leaves metal nearly dry. In Tampa’s humidity, that means your hardware is actually more exposed to corrosion after a WD-40 application than before. It’s not a lubricant, and using it as one on your garage door is a common mistake that speeds up wear rather than slowing it down.
The second product to avoid is heavy grease, like axle grease or general-purpose wheel bearing grease. In a coastal, humid environment, heavy grease collects airborne salt and dirt, cures into a gritty paste, and binds moving parts. It also stains your clothes and anything it touches. Keep heavy grease off your garage door entirely.
Here’s where to lubricate, and how often:
- Torsion spring: Spray the entire coil length, top and bottom, with white lithium spray. Do this every six months. The spring coils expand and contract slightly with every cycle, and lubrication keeps them from binding.
- Hinges: A short spray on the pivot point of each hinge, every six months. You have between 10 and 14 hinges on a standard two-car door, so work through them quickly.
- Rollers: Focus on the bearing area where the wheel meets the stem. If you have sealed-bearing nylon rollers, they technically don’t need lubrication, and a light spray won’t hurt. If you have metal rollers, lubricate them every six months. If your rollers are rusted or pitted, replacement is the better fix.
- Spring coils and brackets: If you have extension springs, run a line of lithium spray along the spring while the door is open so the coils are stretched. Lubricate the safety cable and pulley bearings at the same time.
- Locks and latches: A small shot of silicone spray keeps them functioning in humid air, which rusts lock internals faster than anything else.
A note on overspray: lubricant that lands on the track or the door face collects debris and looks bad. Wipe off any overspray with a rag. And again, do not lubricate the tracks themselves. Tracks are designed for rollers to run on clean, dry metal. Lubricating them is worse than doing nothing.
Testing Your Auto-Reverse: The Most Skipped Safety Check
Every garage door opener sold in the United States since 1993 is required by federal law to have an auto-reverse mechanism. It’s a safety sensor system that detects an object, a child, or a pet in the door’s path and reverses the door before applying full downward force. It’s also the single most important safety feature on your garage door, and most homeowners never test it until something forces them to.
The test takes 30 seconds. Here’s how to do it:
- Place a solid object flat on the ground in the center of the door’s path. A roll of paper towels works, or a 2×4 laid flat. Don’t use something fragile or expensive.
- Close the door using your normal opener button, not the wall button or app override.
- Watch the door as it contacts the object. It should reverse within one to two seconds of making contact, returning to the open position.
- If the door reverses, you’re good. If it doesn’t, or if it hesitates before reversing, your auto-reverse is failing.
- Reset the door to the open position and remove the object.
You should also check the photoelectric sensors, which are the two small units mounted near the floor on either side of the door opening. They project an invisible infrared beam. If anything breaks the beam while the door is closing, the door should reverse. Test this by waving a broom handle or cardboard tube through the beam while the door is closing. The door should immediately reverse. If it doesn’t, the sensors may be misaligned, dirty, or worn out. Cleaning them with a soft dry cloth sometimes restores function. If it doesn’t, the sensor pair needs replacement.
Do this test monthly. Write it on the calendar or set a phone reminder. A garage door that closes with full force can cause serious injury or death, and a failed auto-reverse is the leading mechanical cause of garage door injuries. The test costs you nothing but 30 seconds, and it’s the difference between a safety device that works and one you only assume works. If your door fails the auto-reverse test, disengage the opener and use the door manually until it’s repaired. Don’t run the opener until a professional has fixed the safety system.
See the difference
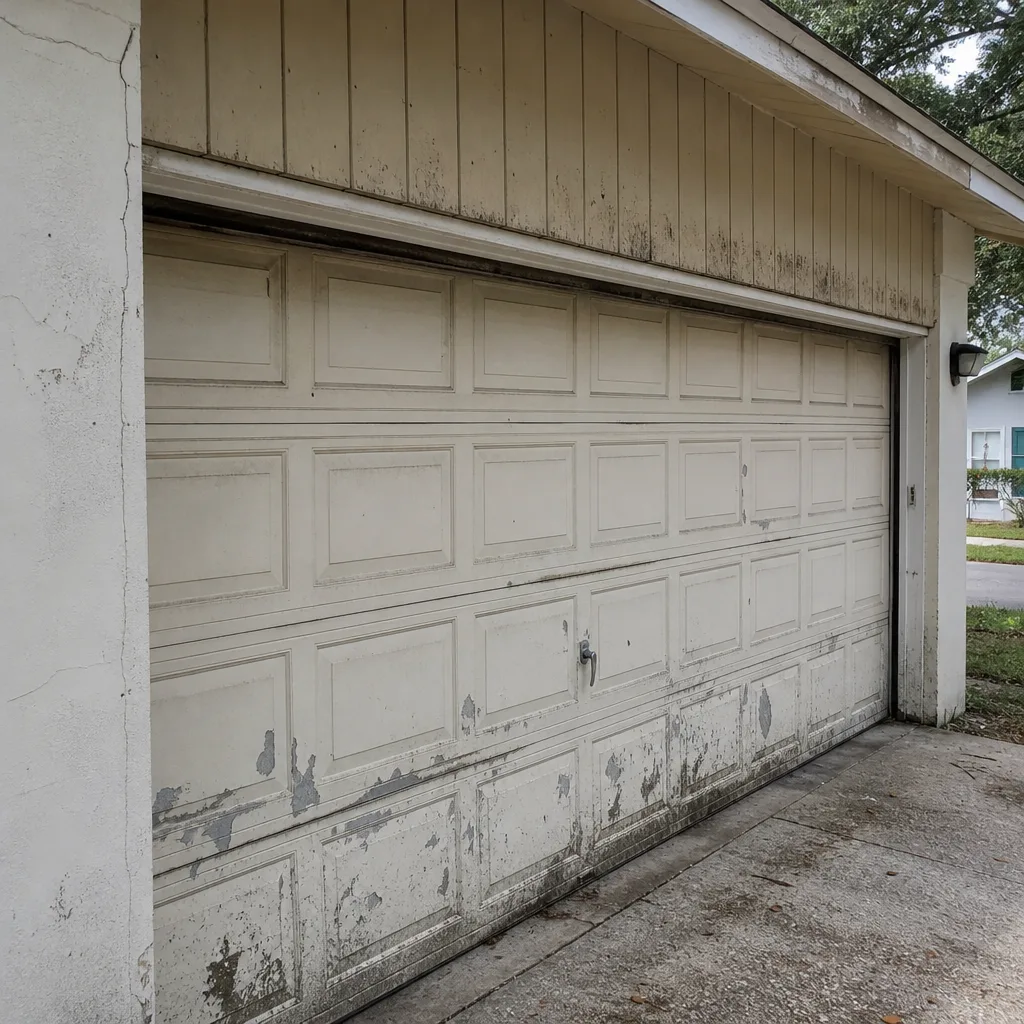 Before
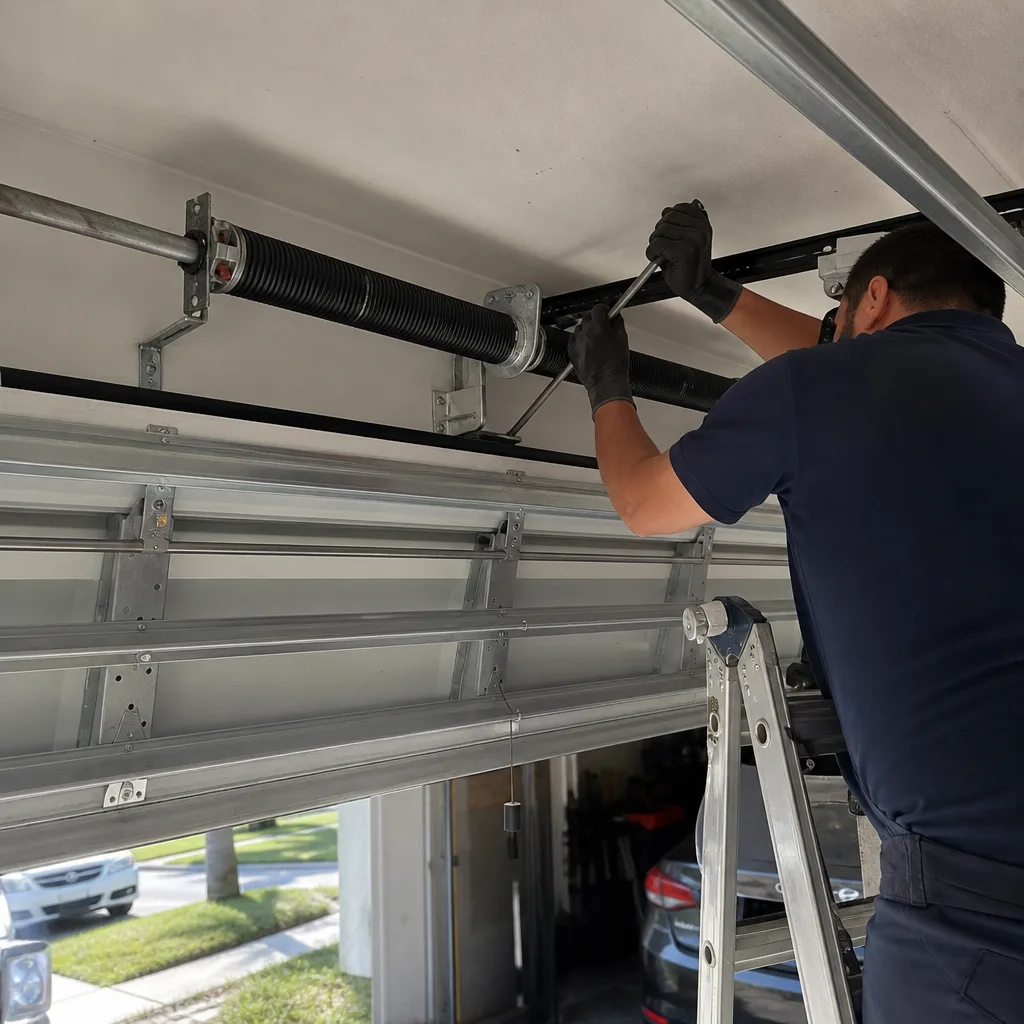 After
After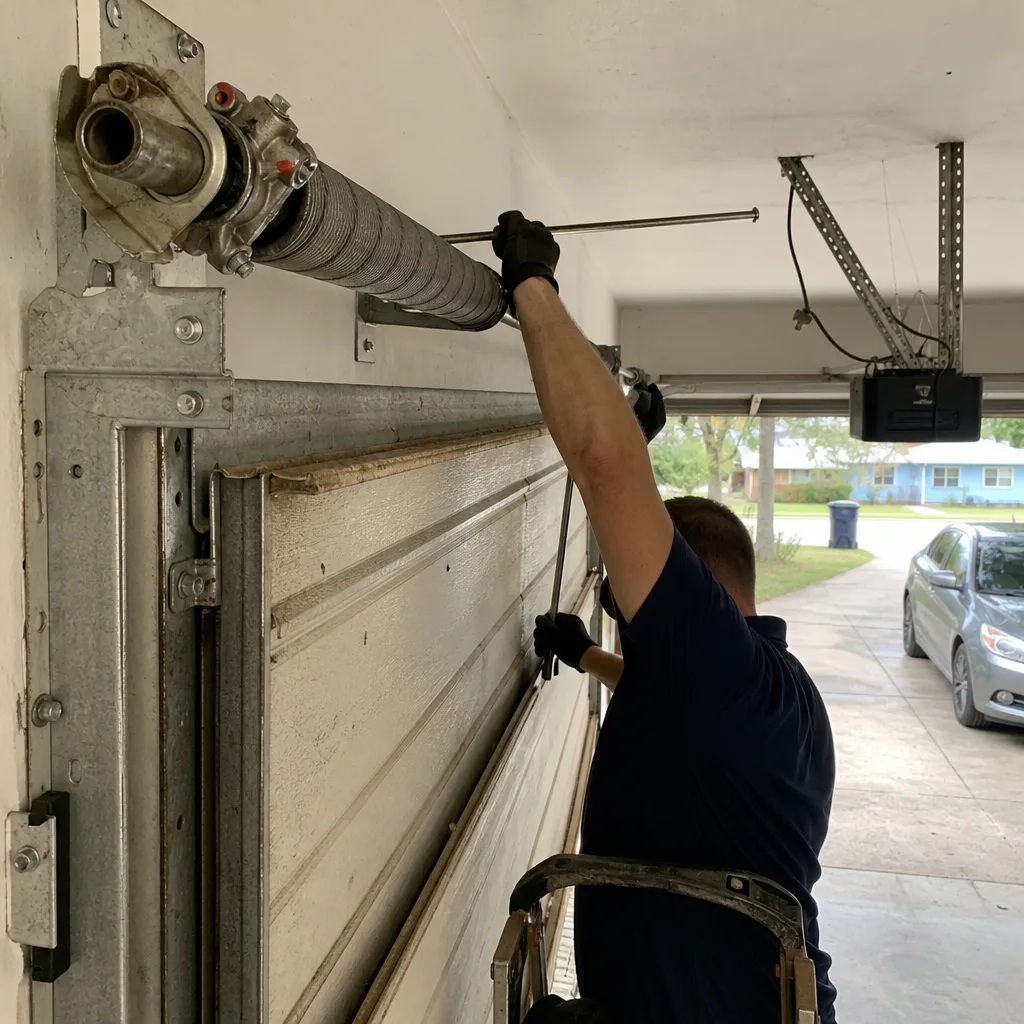 Before
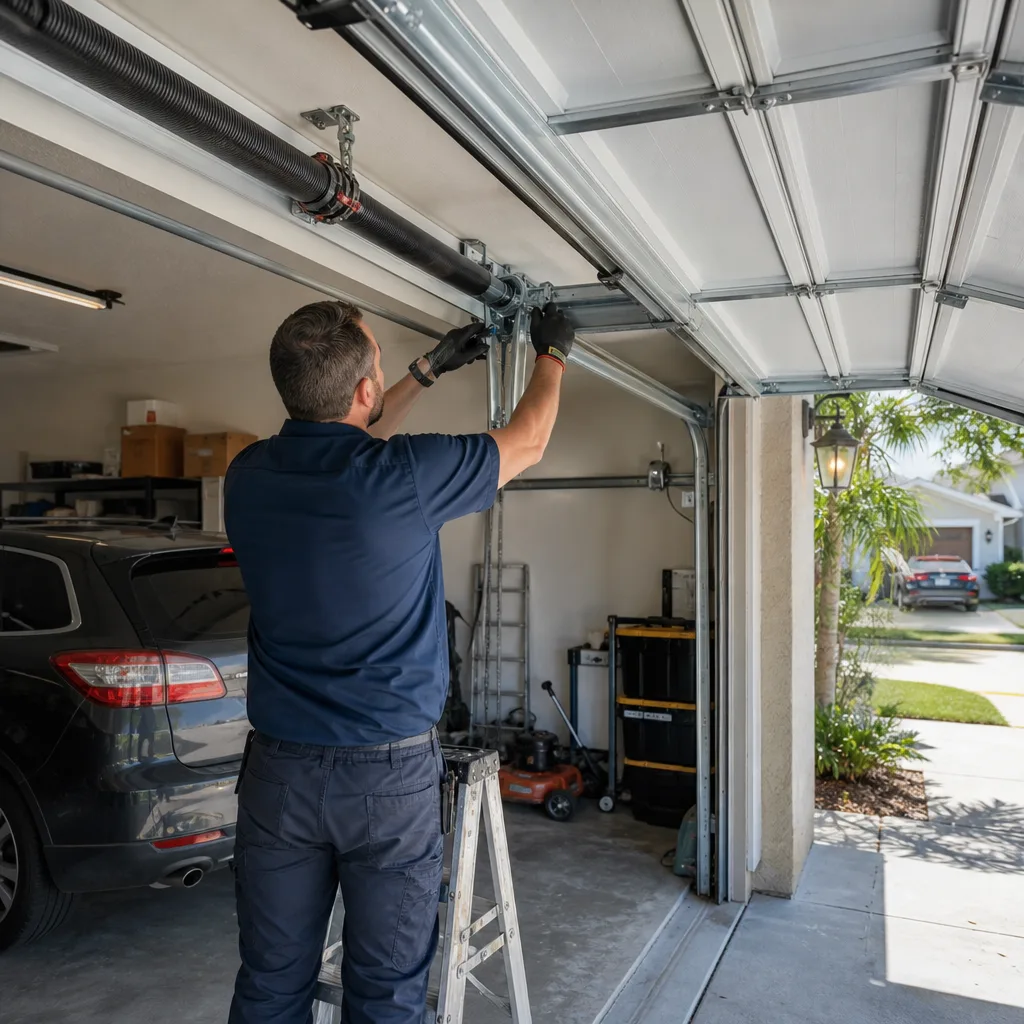 After
After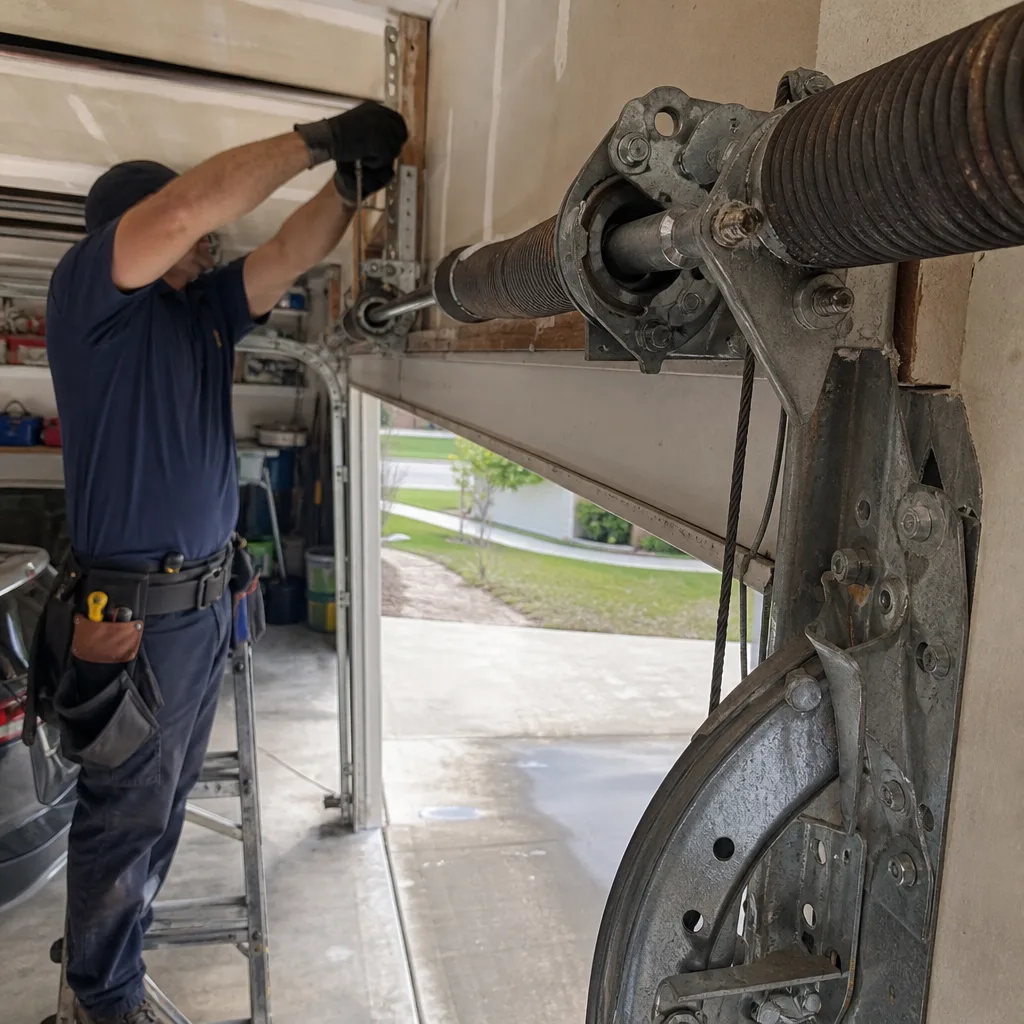 Before
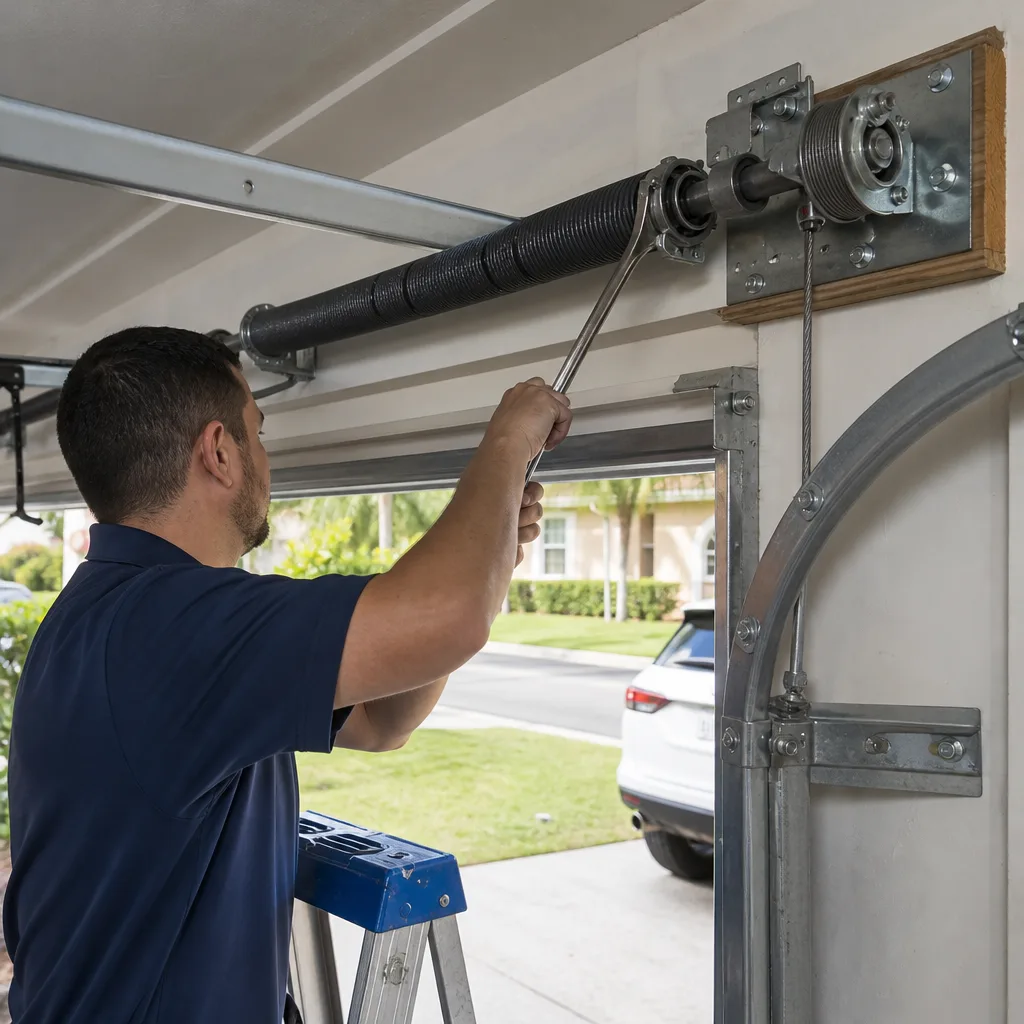 After
AfterHumidity Damage: Warped Panels and Swollen Trim
Tampa’s humidity doesn’t just affect your hardware. It works on the door panels and the wood frame around your garage opening. The signs are visible if you know what to look for, and catching them early is the difference between a cheap adjustment and a full panel or frame replacement.
Door panels, especially wood doors or insulated steel doors with wood cores, absorb moisture from the air. Over time, that moisture causes the panels to swell. You’ll see this as a bow or ripple in the panel face when you look at the door from outside in flat light. A door that used to sit flush may show gaps between panels or between the door and the frame. You’ll also hear it: a door with swollen panels makes a soft scraping or rubbing sound as it travels through the tracks, and it may hesitate or catch at specific points. The bottom panel usually swells first because it’s closest to the ground and the puddle that forms at the base of your garage door in heavy rain.
Wood trim around the garage opening, which carpenters call the jamb or brickmold, swells even more dramatically. When the trim absorbs humidity, it expands and presses inward against the door. You’ll notice the door rubbing against the trim, paint cracking along the edges, or a visible gap that’s changed since the frame was installed. In St. Petersburg and South Tampa houses built before 1980, we see this constantly. Older wood frames, combined with decades of repeated swelling and drying cycles, eventually rot, and the rot reaches the mounting points for your tracks and hinges.
Here’s the tipping point between a DIY fix and a professional re-alignment, in our experience:
- DIY territory: If the swelling is minor, meaning you have to look closely to see it and the door operates with only slight resistance, you can sometimes reduce the problem by adjusting airflow in the garage, adding a dehumidifier during peak summer months, and keeping the garage door closed during afternoon thunderstorms so less moisture gets in. Sanding or planing swollen trim is possible but rarely fixes the underlying issue, since the wood is simply too wet.
- Professional territory: If the door visibly bows, binds, or stops partway through a cycle, or if the trim is soft to the touch, cracking, or showing dark stains, the problem is structural. A garage door technician can re-align the tracks and adjust the travel limits to accommodate minor swelling, but if the panels or frame are significantly warped, replacement is the only durable fix. Continuing to run a warped door through the tracks stresses the opener motor, the springs, and the hinges, and eventually something gives, usually the opener first.
The important thing is to pay attention. A door that starts scraping or a frame that starts cracking doesn’t fix itself. The longer you wait, the more the moisture works its way in. If your door is binding, or you can see a clear gap or bow that wasn’t there a season ago, call someone before you try to force it.
Pre-Storm Checklist for Hillsborough County Homeowners
Hurricane season runs from June 1 through November 30, and while Tampa hasn’t taken a direct hit in generations, the region regularly feels the effects of tropical storms and Category 1 or 2 hurricanes that make landfall elsewhere and push wind and rain across the Bay area. When a named storm is 72 hours out, your garage door needs specific attention. Here’s the pre-storm checklist we recommend for homeowners in Hillsborough County, including Tampa, Brandon, Riverview, and Carrollwood.
- Assess your door’s wind rating (if you know it). Newer garage doors, especially from brands like Clopay and Amarr, are available with wind-load ratings designed for coastal Florida. If your door isn’t wind-rated, it’s more vulnerable to wind pressure, and you should consider bracing it.
- Reinforce the door if it’s not wind-rated. Vertical steel bracing kits, also called garage door hurricane braces, are available at local hardware stores and can be installed in under an hour. They stiffen the door against wind pressure. If you have a single wide door and you’re in a flood or wind zone, this is cheap insurance.
- Close the door, and keep it closed. This seems counterintuitive if you’re worried about power, but an open garage door lets wind enter the garage, pressurize the space, and can lift the roof or blow out walls. A closed door is stronger than an open one.
- Disconnect the automatic opener before the storm lands. Once the power goes out, you don’t want the door trying to operate on generator power or surge. Pull the emergency release and let the door operate manually if you need to open it.
- Snap a photo of the door, the tracks, the springs, and the opener. If the storm does damage, you’ll have a record for insurance purposes. Include a photo of the brand label if it’s visible.
- Bring in or secure anything in the garage that could become wind-driven debris. Not strictly garage door maintenance, but flying tools and equipment cause a lot of garage door damage in storms. Secure or move anything heavy.
- Check that your weatherstripping is intact. The bottom seal is your first line of defense against wind-driven rain and storm surge. If it’s cracked or missing, water will find its way in.
After the storm passes, run through the 12-point inspection before you use the door normally. Check that the tracks are still aligned, the cables are seated, and the opener operates without strain. If the door was hit by debris or took on water, call a professional before putting it back into service. Storm damage often looks minor from the outside and hides bigger problems behind the panels.
Common Mistakes to Avoid
Here are the specific mistakes we see Tampa homeowners make, over and over. Each one is avoidable and each one leads to a service call that didn’t have to happen.
- Using WD-40 on springs and hinges. It strips away what little protection the metal has and accelerates rusting in salt air. Use a lithium or silicone garage door lubricant instead.
- Never rinsing salt residue. Six weeks of salt air near the coast is enough to start visible pitting on unprotected springs. Rinse your hardware every six weeks during the humid season. It’s the cheapest maintenance step on this entire list.
- Neglecting the auto-reverse test for years. Most homeowners have never tested it. Thirty seconds a month is all it takes, and if it’s broken, you want to know before someone gets hurt.
- Ignoring the balance check. A door that falls when you release it does more than inconvenience you. It tells you the springs are losing tension, which means the opener motor is working against more weight than it was designed for. You’re burning out a $250 opener to avoid a spring inspection.
- Forcing a door that’s binding or scraping. If your door catches, scrapes, or pauses partway through a cycle, something is wrong. Continuing to run it puts strain on every part of the system. Stop, inspect, and figure out what changed.
- Thinking hurricane season is the only time to prepare. Summer thunderstorms in Tampa routinely produce 40 – 50 mph gusts. That’s enough to stress a door that’s already weakened. Your maintenance schedule should reflect that the storm threat is year-round, not just June through November.
- Letting a small cable fray go. A frayed garage door cable is like a tire with a bubble in the sidewall. It’s not going to get better, and when it fails, it fails suddenly and dangerously. Cables should be replaced when you first see broken strands, not after they snap.
When to Call a Professional
Some maintenance is for you. Some work is for a trained technician with the right tools and the right insurance. In our experience, the line is clear. If the problem involves a torsion spring, a cable, or track realignment, don’t do it yourself. Torsion springs are under hundreds of pounds of torque. A spring that snaps while you’re working on it can cause serious injury or death. Cables under tension can whip and cause deep lacerations. Track adjustments require precise alignment that’s hard to get right by eye. If your door fails the auto-reverse test, call a professional. If you see rust pitting, gaps, or stretching in any spring, call a professional. If your door is binding, scraping, or stopping mid-cycle, call a professional. Garage Door Repair in Tampa should be done by someone who works on these systems daily. We do free estimates in Tampa and the surrounding areas, and we’ll tell you what’s wrong and what it costs before any work starts. Call (850) 761-0207 to schedule a look.
Frequently Asked Questions
Every six months is the baseline. In Tampa’s humid, salt-heavy air, we recommend lubricating the torsion spring, hinges, and rollers every six months, and rinsing salt residue off the hardware every six weeks during the humid months to prevent corrosion. Call Marlow Garage Door Repair Tampa home if you’re not comfortable doing the lubrication yourself.
Most of the maintenance on this checklist costs nothing but time: the lubricant spray runs $10 – $15 at any local hardware store, and a replacement bottom seal runs $25 – $50. If you want a professional inspection, most companies charge $60 – $120 for the visit, often applied toward any Garage Door Repair. Call (850) 761-0207 for a free estimate.
Corrosion from salt air and humidity is the biggest year-round risk. It eats springs and cables faster than most homeowners expect, especially within a few miles of Tampa Bay. The second biggest is wind stress from summer thunderstorms and hurricane-season storms, which breaks down doors that are already weakened by corrosion.
No, and we’re direct about this because it’s a safety issue. Torsion springs are under extreme tension and can cause serious injury or death if they snap while being handled. Spring replacement is a job for a trained professional with the right tools and experience. Garage Door Spring Repair in Tampa is one of the most common calls we get, and it’s always worth doing right.
Look at the door from outside in flat light. A warped panel shows a bow or ripple instead of a straight surface. You’ll also notice the door scraping or hesitating in certain spots, and paint may crack along the panel edges. Minor swelling can sometimes be managed with better garage ventilation; significant warping usually means replacing the panel.
If your door isn’t wind-rated and you’re in a wind or flood zone, bracing is cheap insurance. Vertical bracing kits run $150 – $300 and can be installed in under an hour. For a named storm with 72 hours’ notice, brace the door, close it, keep it closed, and disconnect the opener before the worst winds arrive. For help choosing a reliable installer, read How to Hire a Garage Door Contractor in Tampa: A Step-by-Step Guide.
Don’t wait. A frayed cable is a near-term failure risk, and when a cable snaps under tension it can damage the door, the tracks, and anything nearby. Cable replacement is a professional job. Garage Door Cable Repair in Tampa should be scheduled as soon as you see broken strands.
Because humidity changes the way metal expands and contracts, and salt air builds up on the hardware. The combination increases friction, and friction causes the squeal. A lithium-based lubricant applied every six months handles most of it; find more guides & resources on our blog. If the squeal persists after lubricating, it usually means a roller or hinge is wearing out and should be replaced.
The Bottom Line
A Tampa garage door needs a Tampa-specific maintenance routine. Skip the freeze and ice sections from generic online checklists, and focus on what actually matters here: salt residue, humidity swelling, storm stress, and the humble auto-reverse test that almost everyone forgets. Run the 12-point inspection twice a year, in April and October. Rinse metal hardware every six weeks during the humid season. Lubricate with lithium or silicone, never WD-40, and never grease. Check the auto-reverse every month. Pay attention to warping panels and swollen trim before they bind the door. And when a spring, cable, or alignment issue shows up, call someone who works on garage doors daily. Marlow Garage Door Repair Tampa has been serving Tampa since 2002, and we give every customer a written price before any work begins. Call (850) 761-0207 for a free estimate on any garage door issue, or to schedule a maintenance inspection. We’re happy to look at your door and tell you what it needs and what it doesn’t.
Written by Jaylen Ross, Owner at Marlow Garage Door Repair Tampa, serving Tampa since 2002.