
Last updated October 16, 2026
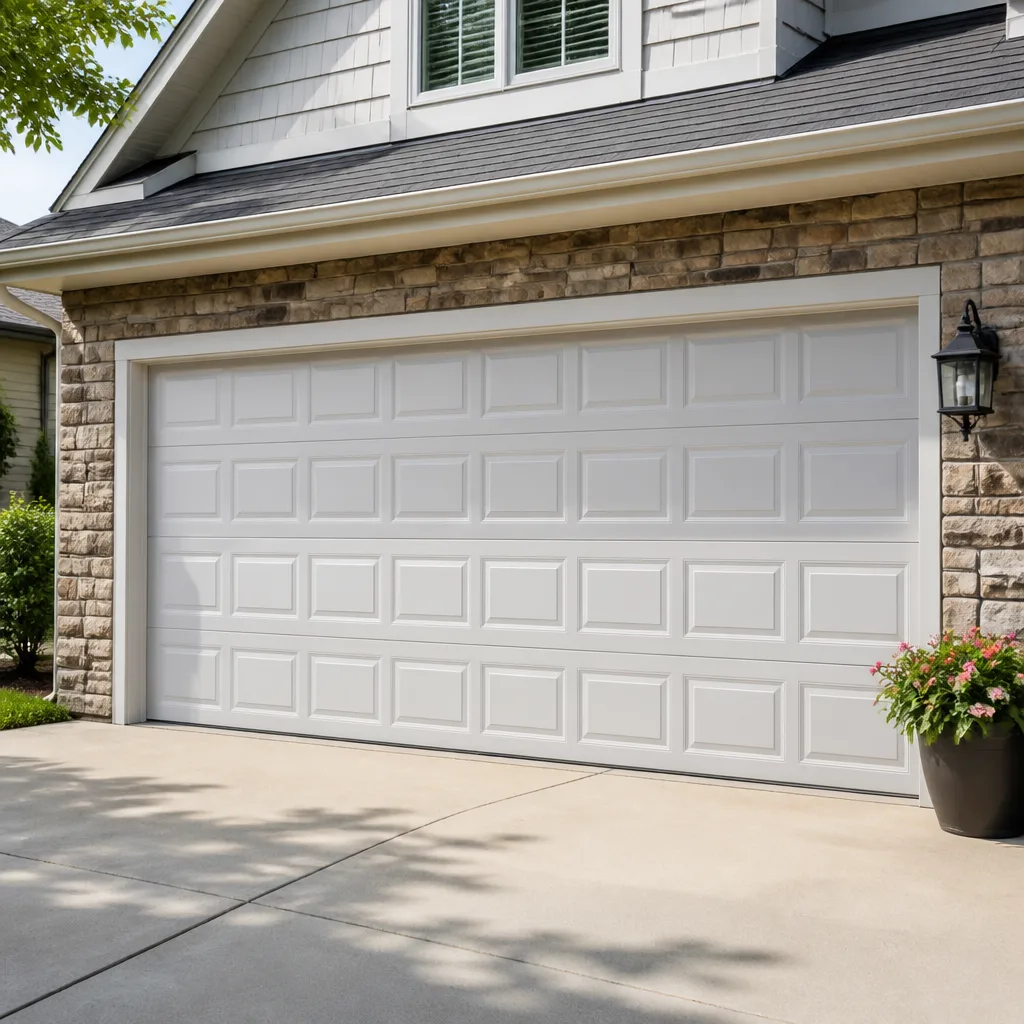 Raised-panel steel
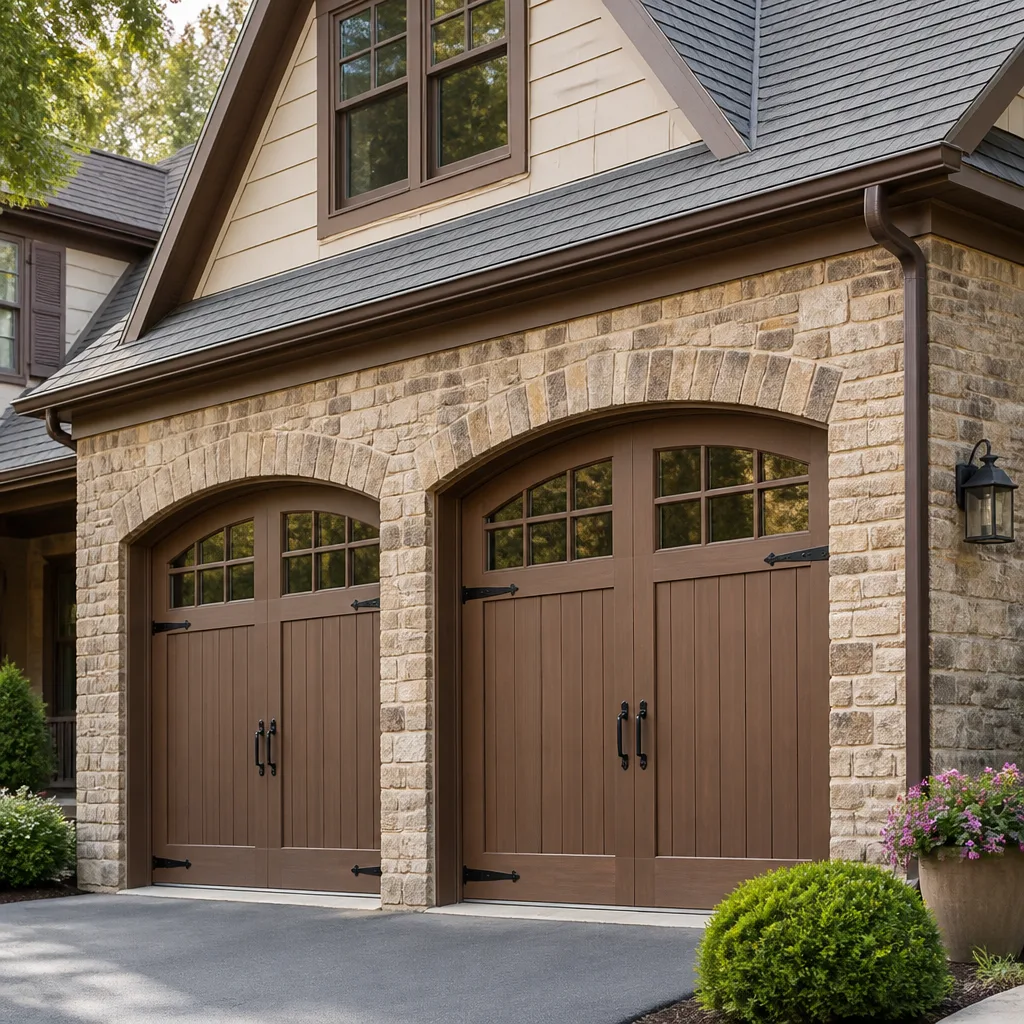 Carriage house
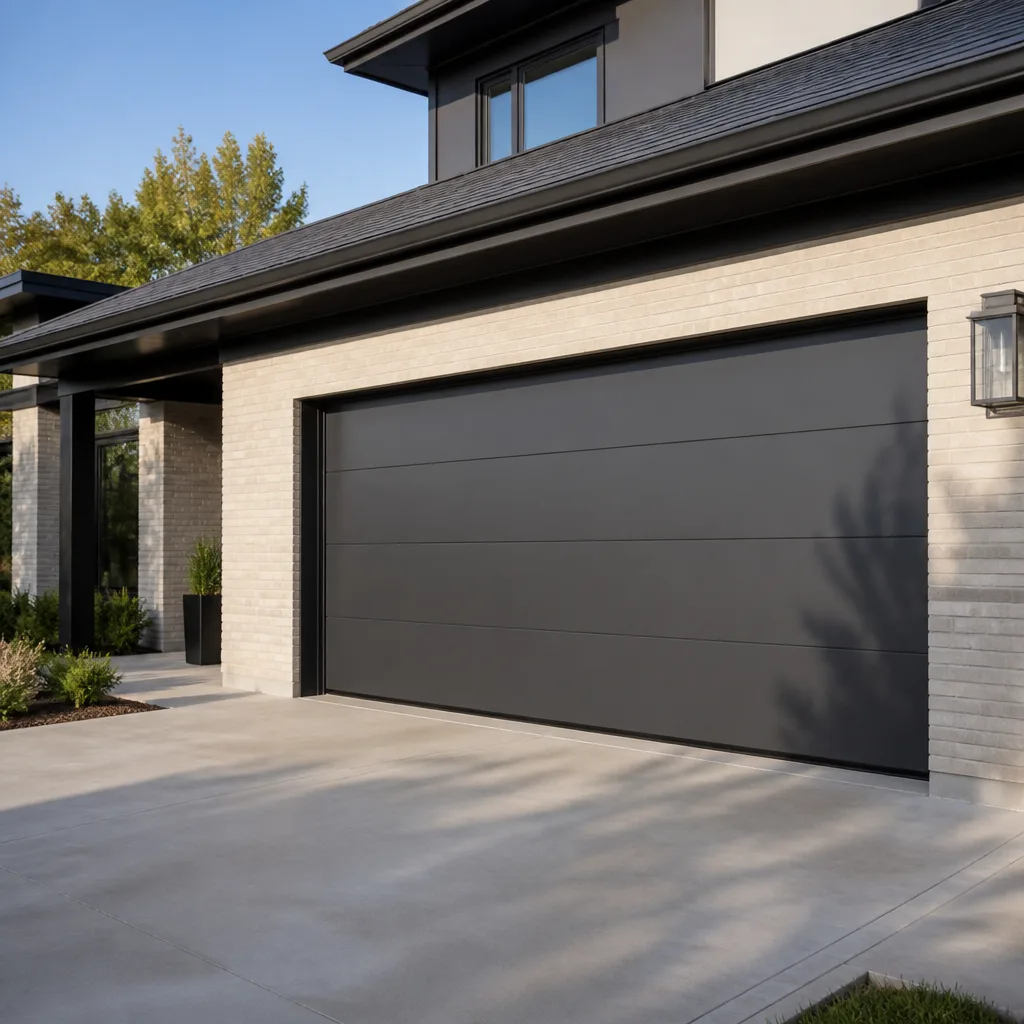 Modern flush
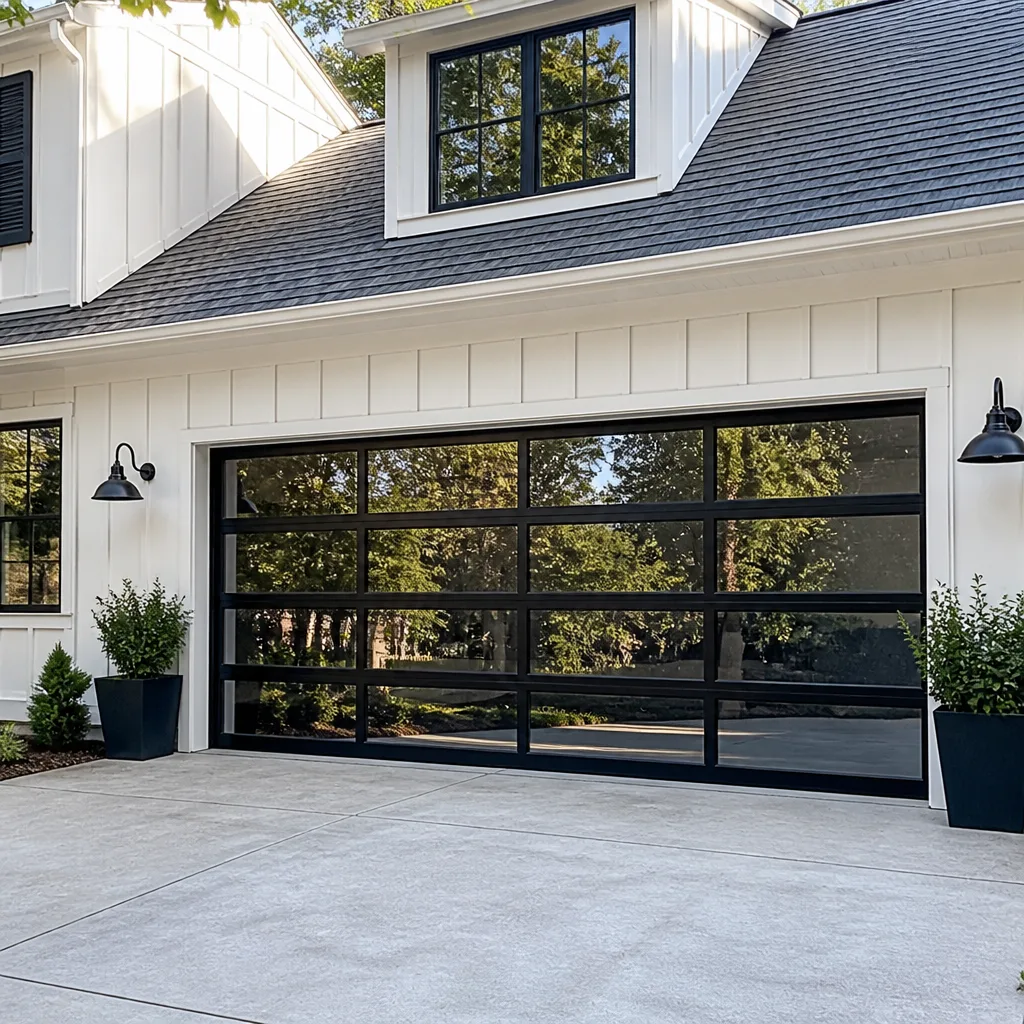 Full-view glass
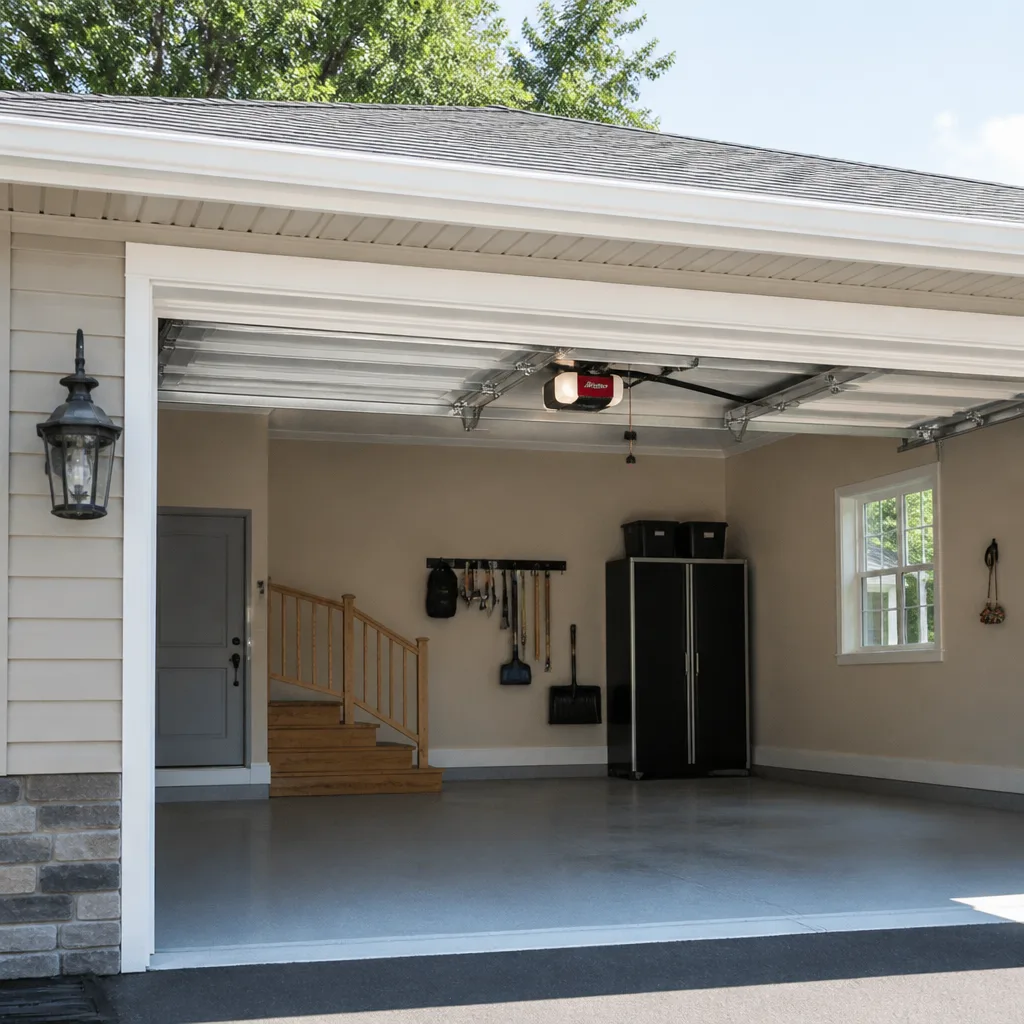 LiftMaster openers
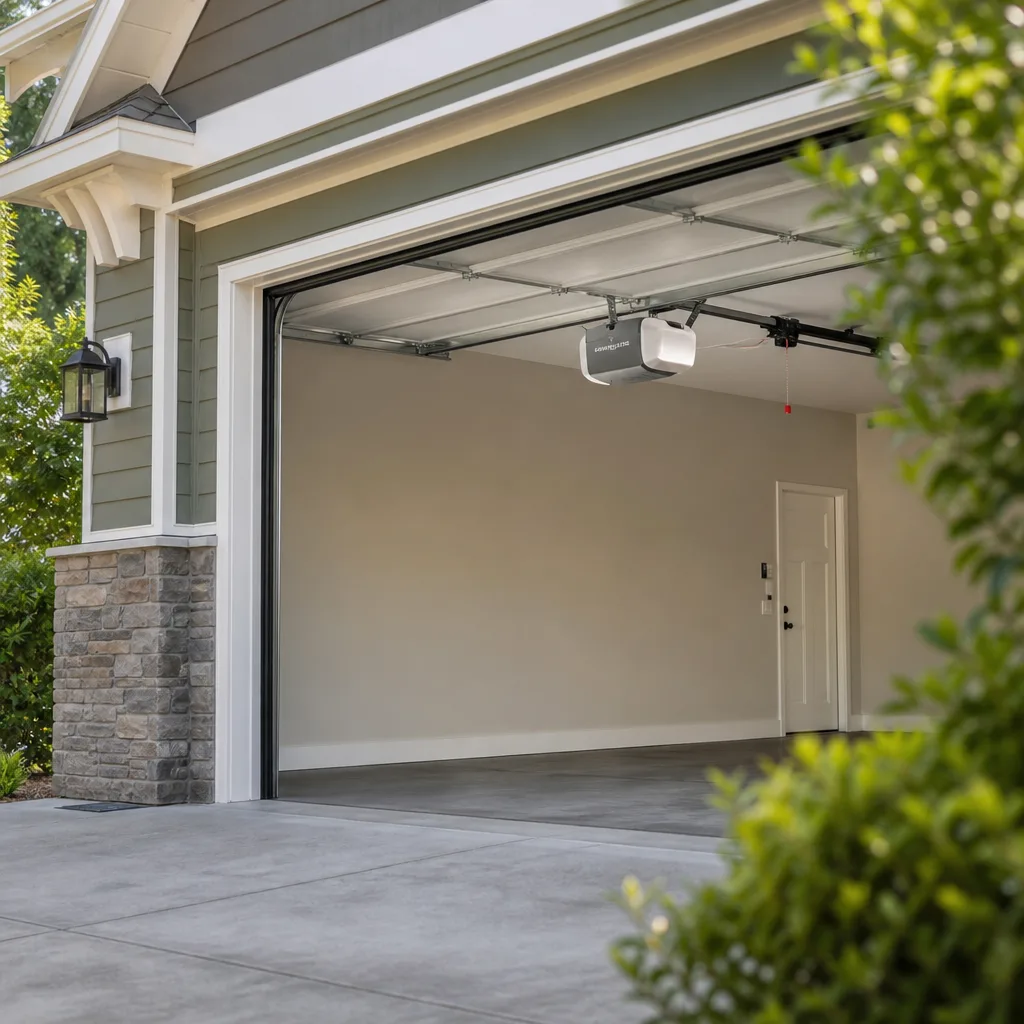 Chamberlain openers
Full 25-point door and opener safety check with every visit - springs, cables, rollers, tracks, and your LiftMaster or Chamberlain opener included
You get a price before we start. It does not change when the truck arrives.
Get your free estimateGarage Door Warning Signs: A Tampa Homeowner’s Reference Guide
A garage door that takes two extra seconds to reverse direction isn’t “getting old” – it’s a tension spring that’s lost calibration, and in Tampa’s heat, that gap between “slow” and “snapped” closes faster than anywhere in the country. Most warning-sign guides give you the obvious stuff: loud noises, slow movement, doors that won’t open. This one is different. We’re going to show you the subtle, environmental, and often-ignored signs that predict Tampa’s most expensive garage door failures – the ones that turn a $150 spring replacement into a $1,200 snapped-cable emergency if you miss the early warning. You’ll learn how to read rust stages, decode your opener’s blinking lights, and spot structural asymmetry before it becomes a safety hazard. This is written from our experience repairing garage doors across Tampa since 2002, and it’s organized so you can jump straight to the sign you’re seeing. For more guides & resources, visit our blog.eeing right now.
Styles & brands we work with
Quick Answer
The early warning signs that matter most for Tampa garage doors are: a torsion spring showing visible rust progression (especially in Florida humidity), a rhythmic ticking or popping sound during operation, a door that’s slightly crooked or has uneven gaps at the bottom, and opener LED error codes indicating force-setting drift. Any one of these means a component is degrading and should be inspected. In Tampa’s climate, the window between first sign and full failure is typically 2 – 6 weeks for springs and 1 – 3 months for cables. Call (850) 761-0207 for a free estimate in Tampa before that window closes.
Table of Contents
- The Sound Library: Normal vs. Failure Frequencies
- Rust on Torsion Springs: The Four Visual Stages
- Why a Crooked Door Is Never Cosmetic
- Weatherstripping Failure: Tampa’s Water Intrusion Signal
- Decoding Your Opener’s LED Error Codes
- Vibration and Balance: What Your Door Is Telling You
- Common Mistakes to Avoid
- When to Call a Professional
- Frequently Asked Questions
- The Bottom Line
The Sound Library: Normal vs. Failure Frequencies
Garage doors make noise. That’s normal. The question is whether the noise is mechanical hum (fine) or a specific frequency that indicates a component is wearing unevenly. We’ve trained our ears on thousands of Tampa garage doors, and here’s what we listen for.
Normal operational sounds: A steady, low hum from the opener motor. A soft rumble as rollers travel the track. A gentle thud when the door seats against the floor. If your door sounds like a refrigerator running, you’re fine.
Grinding: A gritty, metal-on-metal sound, often worse at specific points in the travel. This usually means the rollers are worn – either the bearings inside the roller have failed or the roller itself has flat-spotted. On doors with nylon rollers, grinding means the nylon has worn through to the steel core. In Tampa’s humidity, roller bearings rust faster than in dry climates, so grinding here is often a sign of internal corrosion, not just age. You can replace rollers yourself if you’re comfortable, but a garage door repair in Tampa will run you less than the cost of replacing a bent track.
Popping: A sharp, periodic “pop” or “snap” during travel. This is one of the most misunderstood sounds. It’s not the door “settling.” It’s almost always a torsion spring that’s binding – the coil is catching on itself as it winds and unwinds. Left alone, that binding accelerates metal fatigue at the catch point, and the spring eventually snaps there. If you hear popping, the spring is telling you it’s on borrowed time.
Rhythmic ticking: A steady tick-tick-tick that matches the door’s movement, like a playing card in bicycle spokes. This is typically a cable that’s starting to fray – the individual wire strands are brushing against the drum or track as they begin to separate. Ticking is the earliest audible warning of cable failure, and it’s one of the most ignored sounds in garage door ownership. By the time ticking becomes visible fraying, you’re days or weeks from a snapped cable.
The takeaway: hum is fine, rumble is fine. Grinding, popping, and ticking are each specific early-warning signatures. In our experience, a Tampa homeowner who acts on these sounds spends $140 – $260 on a roller or cable fix. A Tampa homeowner who waits pays $500 – $1,200 for door-off-track emergency work.
Rust on Torsion Springs: The Four Visual Stages
The torsion spring – the horizontal coil above your door that does most of the lifting – is under enormous tension. Every time your door opens, that spring winds and unwinds. Rust doesn’t just look bad; it creates micro-pits on the spring’s surface where stress concentrates during winding. In Florida humidity, rust is not an aesthetic issue. It’s a structural timeline.
Here’s the four-stage progression we look for on garage door spring repair in Tampa calls:
- Stage 1: Surface oxidation. The spring is a dull orange-brown in patches, but the surface is still smooth to the touch. This is cosmetic. You have months – possibly a year – before structural concern. Note it and move on.
- Stage 2: Flaking. The rust has created visible flaking or scaling. Tiny metal chips may be visible on the spring or on the floor below. This is the beginning of structural compromise. The spring has lost surface material, which changes its stress distribution. Replacement window: 1 – 3 months.
- Stage 3: Pitting. The spring surface has visible craters or pockmarks. These are stress concentrators – every wind cycle flexes the pit edges, and micro-cracks begin. At this stage, a snap is no longer a question of “if” but “when.” Replacement window: 2 – 6 weeks.
- Stage 4: Crack initiation. A hairline crack is visible at any point along the spring, especially near the center or at the winding cone. This is a failure in progress. The spring can snap at any moment, even with the door closed – and a snapped torsion spring releases all its stored energy at once. Call a professional immediately.
In Tampa, the progression from Stage 2 to Stage 4 happens faster than in most of the country because our humidity keeps condensation on the spring surface overnight, even in summer. A garage with an uninsulated door or poor ventilation accelerates this. If your spring is at Stage 2 or beyond, don’t wait. A spring replacement typically runs $150 – $290 depending on spring type, and you’ll see the exact number in writing before any work starts. The alternative – waiting for the snap – adds cable damage, possible door panel damage, and a much larger invoice.
What About Rust on Cables?
The cables that run alongside your door are made of twisted steel strands, and rust attacks them differently than springs. On a cable, rust initially appears as dark staining that’s hard to distinguish from old grease. But once a single strand frays and you can see it poking out, the cable’s tensile strength drops dramatically – often 30% or more in one spot. In Tampa, we regularly see cable failure within two weeks of the first visible strand separation. If you see one frayed strand, replace the cable. Don’t wait for more.
Why a Crooked Door Is Never Cosmetic
A garage door that sits slightly off-level – one side lower than the other, or a bottom edge that doesn’t meet the floor evenly – is the single most telling sign of structural trouble. And yet it’s the one most Tampa homeowners ignore, because the door still opens and closes fine. That’s the trap.
Here’s what gap asymmetry actually means:
- Spring imbalance. If one torsion spring has lost tension (or you have a two-spring system and one spring is weaker), the door lifts unevenly. The opener motor compensates, which means it’s working harder than it was designed to – shortening its lifespan. You won’t notice the extra motor strain, but your door’s uneven travel is the tell.
- Cable stretch or slippage. Cables can stretch over time, especially on doors that cycle multiple times daily. A stretched cable on one side lets that side drop lower at rest. This is a precursor to the cable slipping off the drum entirely – and when that happens, the door can come off its track under load.
- Track misalignment. If one track has shifted (from impact, vibration, or a loose mounting bracket), the rollers bind on that side, and the door hangs lower. This is repairable – but the longer it goes, the more wear on the rollers and the track itself.
- Floor settling or slab shift. Sometimes the door is fine and your garage floor has shifted. In Tampa, where much of the residential land was once marsh or reclaimed, slab settling is common. The fix here isn’t the door at all – it’s a new bottom seal or, in some cases, a door adjustment to accommodate the slab.
The way to tell which it is: stand inside the garage with the door closed and look at the gap between the bottom of the door and the floor. If the gap is even on both sides but there’s a visible gap in the middle, your floor has settled or your bottom seal is compressed. If the gap is angled – high on one side, tight on the other – it’s spring, cable, or track. Both are worth a call, but the angled-gap version is urgent.
Weatherstripping Failure: Tampa’s Water Intrusion Signal
Here’s one no other warning-sign guide covers, and it matters more in Tampa than almost anywhere else in Florida: your garage door’s bottom weatherstrip is a diagnostic instrument. When afternoon storms drop two inches of rain in 30 minutes – a regular summer occurrence in Tampa – the bottom seal is the only thing keeping that water out of your garage and off your door’s internal hardware.
Weatherstripping failure doesn’t just mean a wet floor. Here’s the sequence we see over and over:
- The seal compresses. Over 2 – 4 years of Tampa heat, the rubber or vinyl bottom seal loses flexibility. It no longer fills the gap between the door and the floor. You’ll notice light coming under the door in places where you didn’t before.
- Water starts coming in. During a heavy storm, you see a puddle forming along the bottom edge of the door – often on the side where the driveway slopes toward the garage. This water is running down the face of the door and seeping under the seal.
- Hardware rust accelerates. That water now sits against the bottom roller brackets, the cable anchors, and sometimes the lower spring pads. In Tampa’s humidity, this creates localized rusting at the exact points that bear the door’s weight. A bottom roller bracket that rusts through fails catastrophically.
- Floor damage begins. If your garage floor is unfinished concrete, water intrusion shortens its life. If you store anything on the garage floor – boxes, tools, seasonal items – they take the damage first.
The fix is a new bottom seal, which is inexpensive. The failure to fix it is a new cable, roller bracket, or worse. Tampa homeowners should inspect their bottom seal in May, right before rainy season starts, and again in October. For a full maintenance schedule, see our Seasonal Garage Door Care for Tampa: Year-Round Homeowner’s Guide. If the seal is stiff, cracked, or no longer makes contact with the floor across the full width of the door, replace it. The seal is the cheapest component on your door and the one that protects everything else from Tampa’s weather.
Decoding Your Opener’s LED Error Codes
Every garage door opener manufactured in the last 15 years has a diagnostic system built in – and almost no one reads the manual. The opener’s main light, or a dedicated diagnostic LED, blinks in patterns that tell you exactly what the unit is detecting. Brands vary slightly, but the codes are consistent enough that you can read them with a one-page guide. Here’s what your opener is trying to tell you:
Chamberlain and LiftMaster Units (including Craftsman openers made after 2010)
- 1 blink: The door sensor wires are disconnected or the safety sensors are misaligned. This is the most common code and usually not urgent – but it disables your door’s auto-reverse, which means the safety system is not protecting a child or pet from a closing door. Fix it today, not next week.
- 2 blinks: A safety sensor is blocked or shorted. Similar to 1-blink, but indicates the sensor is physically obstructed or the wiring is damaged rather than simply out of alignment.
- 3 blinks: The opener’s force limit is out of adjustment. The opener is pushing harder or softer than it should. This often means your door’s balance has changed – usually a spring losing tension – and the opener is compensating. Address the spring or door balance, not just the opener setting.
- 4 blinks: The safety sensors are misaligned specifically. Align them until both sensor lights are solid.
- 5 blinks: The motor has overheated. Unplug the unit, let it cool for 20 minutes, and test again. If 5 blinks persists, the motor is nearing end of life.
- 6 blinks: The logic board has detected a fault. This typically requires professional diagnosis.
Genie Units
- 1 red blink, pause, repeat: Safety sensor obstruction or misalignment.
- 2 red blinks, pause, repeat: The door is not making proper contact with the up or down limit. Often caused by slack in the chain or belt, or a door that’s slightly out of balance.
- 3 red blinks, pause, repeat: The opener’s internal force sensor is detecting excess resistance, typically from a spring losing tension or rollers binding. This is a warning to address door mechanics, not the opener.
- 4 red blinks, pause, repeat: The motor is running too long without completing travel, which usually means a disconnected carriage or a broken spring – if the spring is broken, the door won’t move and the motor runs against the limit.
One important note: error codes indicate the opener’s response to a mechanical condition. They are not the problem itself. If your opener blinks 3 (LiftMaster/Chamberlain) or 3 red (Genie), the issue is almost always the door’s springs or balance, not the opener. Drifting force settings are the earliest electronic warning of a spring that’s losing tension – and Tampa’s heat is hard on springs, so we see this code regularly on units where the spring is at the end of its service life.
Vibration and Balance: What Your Door Is Telling You
This is the test most homeowners don’t know they can do, and it takes 60 seconds. Disconnect your opener (usually by pulling the red emergency release cord), then manually lift the door halfway and let go. What happens next tells you more than any sound ever will.
- The door stays put (or drifts very slightly). Your springs are balanced and doing their job. This is what a healthy garage door feels like.
- The door drifts down. Your springs are losing tension. The door’s weight is overcoming the spring’s counterbalance, which means the opener is doing extra work every single cycle. This is a Stage-2 warning sign even if you haven’t seen rust.
- The door drifts up. The springs are too tight for the door’s weight – often the result of a previous owner or tech over-tightening to compensate for an older door. This is also hard on your opener and can cause the door to slam open, which wears rollers and hinges.
- The door shudders or feels “gritty” as you lift it. Roller bearings are worn or the track needs lubrication. If the shudder is localized to one section of travel, it’s almost always a specific roller or a spot of track wear.
Tampa-specific note: garage doors in our area that face west or south get direct afternoon sun on the exterior panel. That heat differential – the outside panel expands while the inside stays cooler – creates a slight bow in the door that can make balance feel off even when springs are fine. If your door “drifts” only in the afternoon but not in the morning, check the balance again after sunset before you assume a spring problem. We’ve saved Tampa homeowners from unnecessary spring replacements with this one observation.
Common Mistakes to Avoid
- Lubricating a noisy spring to quiet it down. A popping or grinding spring isn’t a lubrication problem. Adding grease masks the sound but doesn’t address the binding or metal fatigue – and you’re now running a failing spring that’s lost its audible warning.
- Ignoring the 1-blink sensor code. The auto-reverse safety system is literally a life-safety device. A sensor error disables it. If you have kids or pets, this is not a “get to it eventually” item.
- Replacing the opener when the error code points to the spring. When a Chamberlain or LiftMaster unit blinks 3, the opener is telling you the door is hard to move. Replacing the opener because the door is out of balance means spending $300 – $500 on the wrong fix – and the new opener will start blinking 3 within months.
- Waiting until the spring snaps to call a professional. A snapped torsion spring almost always takes a cable with it, and often yanks the door off its track. That $150 – $290 spring replacement becomes a $500 – $1,200 multiple-component repair. The warning signs – rust, drift, popping – are free information.
- Using WD-40 on your rollers or hinges. WD-40 is a penetrant, not a lubricant. It dissolves existing grease and leaves the metal dry, which accelerates wear. Use a white lithium grease or a dedicated garage-door lubricant on rollers and hinges, and nothing on the torsion spring itself.
- Assuming a crooked door will “settle back.” It won’t. Gap asymmetry means something is yielding – a spring, a cable, or a track mount. None of those self-correct.
- Putting off weatherstrip replacement because “it’s just a little water.” In Tampa, a little water through the bottom of a garage door becomes a lot of water in 30 minutes of afternoon rain, and that water is aimed directly at your lower brackets and cables. The seal is cheap. The downstream damage isn’t.
When to Call a Professional
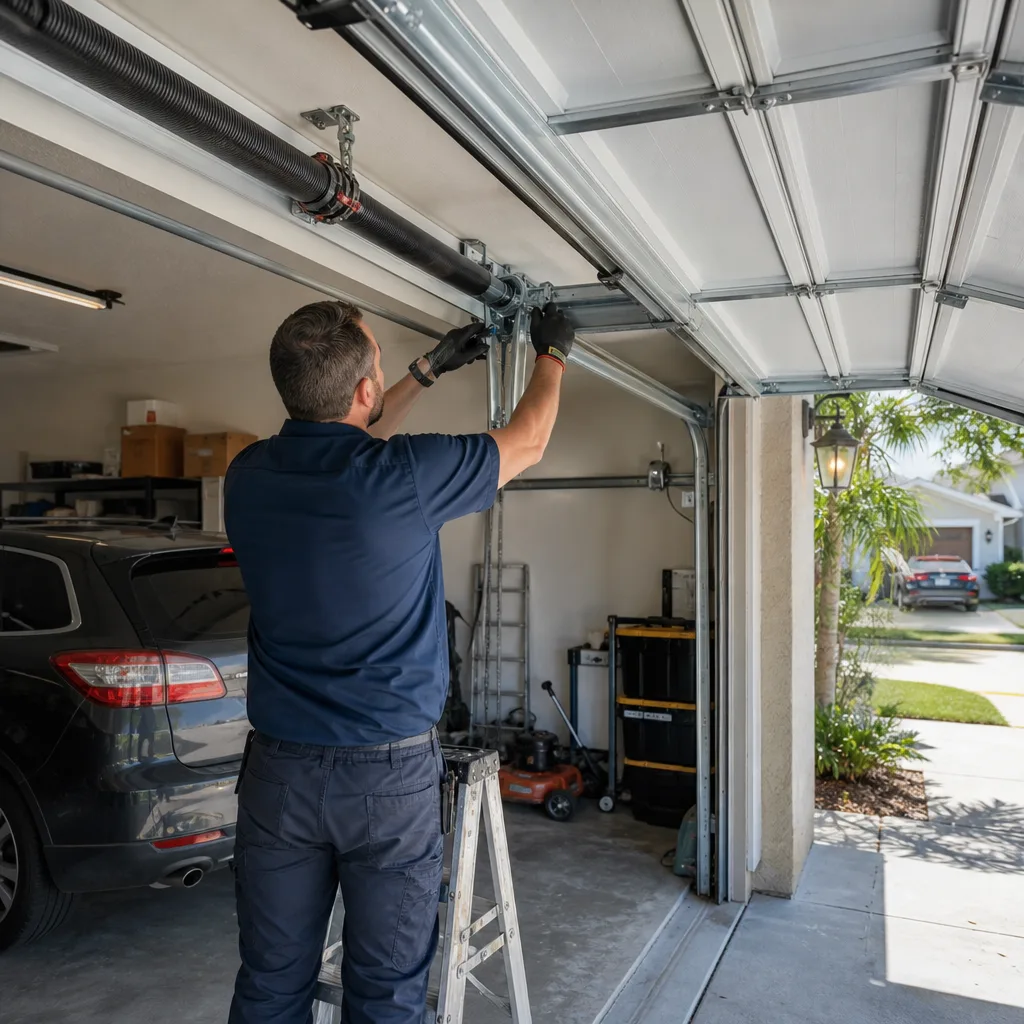
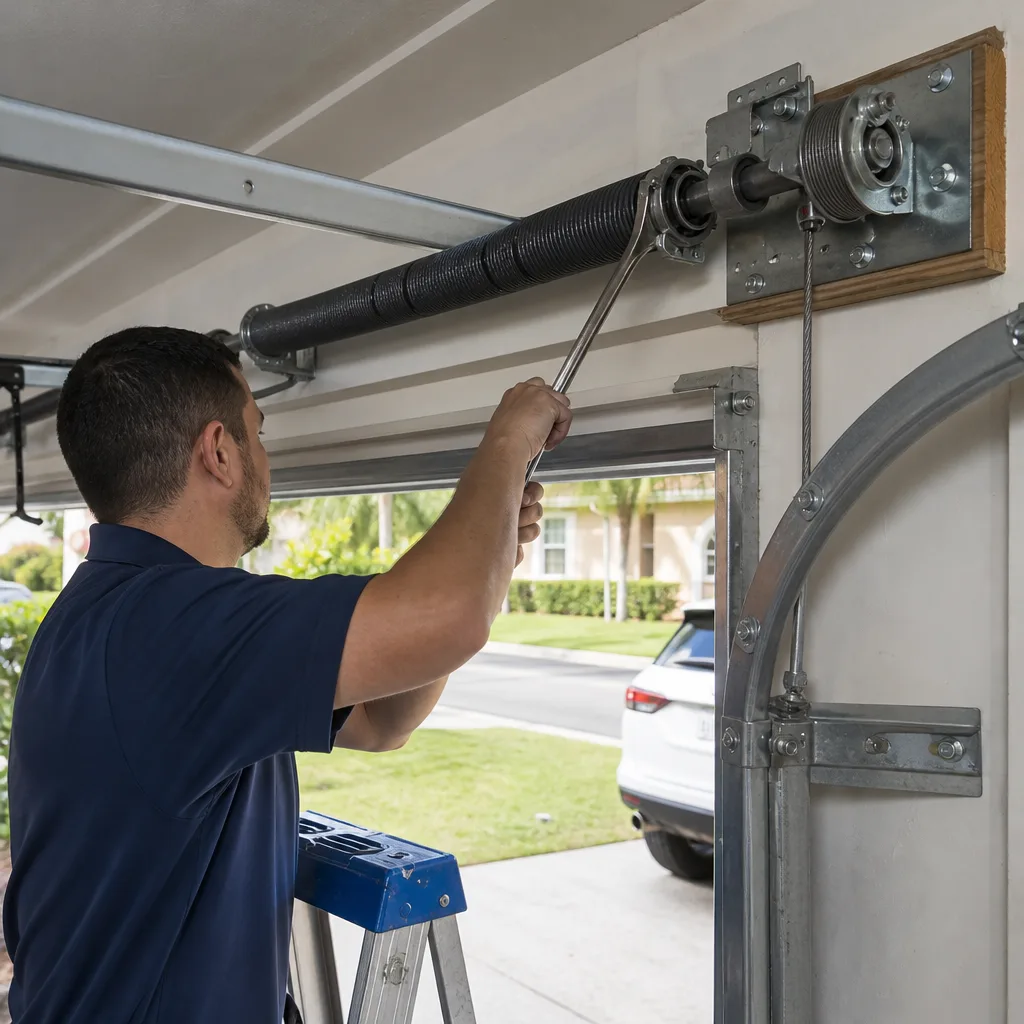
Torsion springs, cables, and anything involving the door’s weight-bearing tension system are in the “do not DIY” category – the energy stored in a wound torsion spring can cause serious injury if released incorrectly. If you’re seeing Stage 2 rust or later on a spring, any fraying on a cable, or your door drifts more than a few inches in the balance test, that’s the time to bring in someone trained on the specific door you own. See How to Hire a Garage Door Contractor in Tampa: A Step-by-Step Guide for what to ask.
Marlow Garage Door Repair Tampa home covers the entire Tampa area with certified technicians trained on LiftMaster, Chamberlain, Genie, Clopay, Amarr, Wayne Dalton, Craftsman, and Raynor. Every job gets a written price before any work starts, and every repair is covered by the 365-Day Done Right Promise – if the fix isn’t right, we make it right within a full year, in writing. We also service garage door cable repair in Tampa as a core specialty, since cable failures are the most common secondary damage from snapped springs. Call (850) 761-0207 for a free estimate.
Frequently Asked Questions
Garage door spring replacement in Tampa typically costs $150 – $290 for a single torsion spring, including labor, depending on spring size, wire gauge, and whether it’s a one-spring or two-spring door. Two-spring doors run higher because both springs should be replaced together to maintain balance. You’ll get a written price before work starts, so the number on the invoice matches the number you agreed to. Call (850) 761-0207 for an exact quote – estimates are free.
No – snapped garage door springs almost always give warning signs first: rust progression on the coil, a popping sound during operation, or a door that drifts down when manually released. The problem is that most Tampa homeowners don’t know what to look for, so the “snap” feels sudden. If you’re seeing any of the signs in this guide, the warning period is active. Don’t wait it out.
Yes – a crooked garage door always indicates a structural issue, usually spring imbalance, cable stretch, or track misalignment. The door will continue to “work” right up until the failing component gives way, at which point the door can drop or come off its track. Get the gap asymmetry diagnosed now, while the repair is likely under $250.
In Tampa’s humidity and heat, torsion springs typically last 7 – 10 years, but that number drops significantly if the garage is uninsulated, if the door faces south or west and absorbs heavy afternoon sun, or if the spring was sized for a lighter door than what’s actually installed. We’ve replaced Tampa springs at the 5-year mark and others that made it to 12. The rust staging guide near the top of this page will tell you where your spring is on its timeline.
You should not replace garage door cables yourself. Cables are under tension from the torsion spring system, and if the spring releases while the cable is detached, the stored energy is enough to cause serious injury. This is one area where the safety math doesn’t change no matter how handy you are. A trained technician can replace a cable in 45 – 60 minutes, and in Tampa, cable repair typically runs $150 – $250. Call (850) 761-0207 for a written quote before any work begins.
A blinking opener light is an error code, not a mystery. On Chamberlain, LiftMaster, and Craftsman units, count the blinks: 1 – 2 blinks mean sensor misalignment or obstruction, 3 blinks mean the door’s force setting is out of range (usually a spring problem), and 4 – 6 blinks indicate sensor alignment, motor overheat, or logic board issues. Genie units use red blinks with the same general pattern. You’ll find the full decoding table in the error-code section above.
The Bottom Line
Garage doors don’t fail without warning. They telegraph trouble through sounds, rust patterns, gap asymmetry, and error codes – but only if you know how to read the signs. In Tampa, the climate accelerates every failure mode: rust forms faster, springs fatigue sooner, and water intrusion does more damage in a single storm than it would in a month of dry weather elsewhere. The homeowner who reads this guide and acts on Stage 2 rust, a single frayed cable strand, or a 3-blink force code is going to spend $150 – $290 instead of $500 – $1,200. For everything covered here in one place, see The Complete Guide to Garage Door in Tampa. The homeowner who waits will meet us under worse circumstances. Either way, call (850) 761-0207 for a free estimate – and you’ll get a written price before the wrench turns, every time.
Written by Jaylen Ross, Owner at Marlow Garage Door Repair Tampa, serving Tampa since 2002.
See the difference
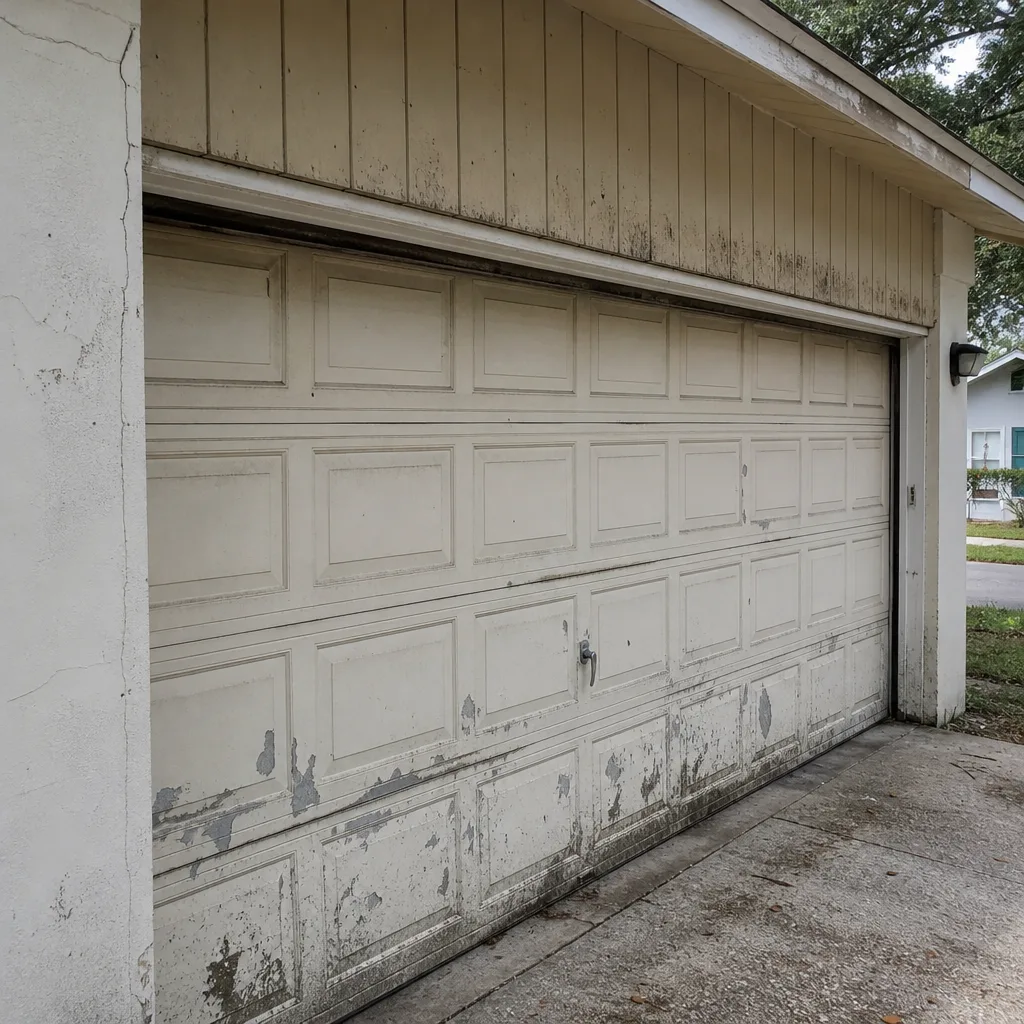 Before
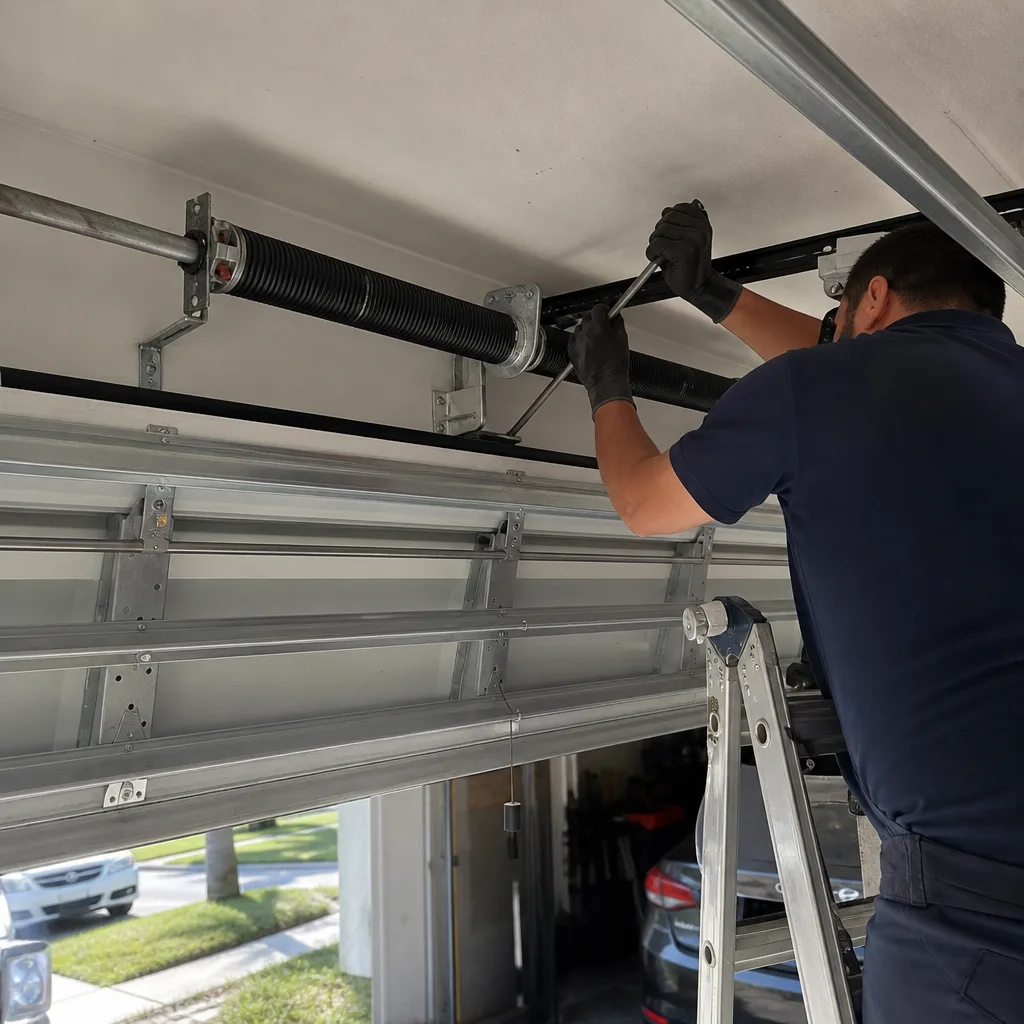 After
After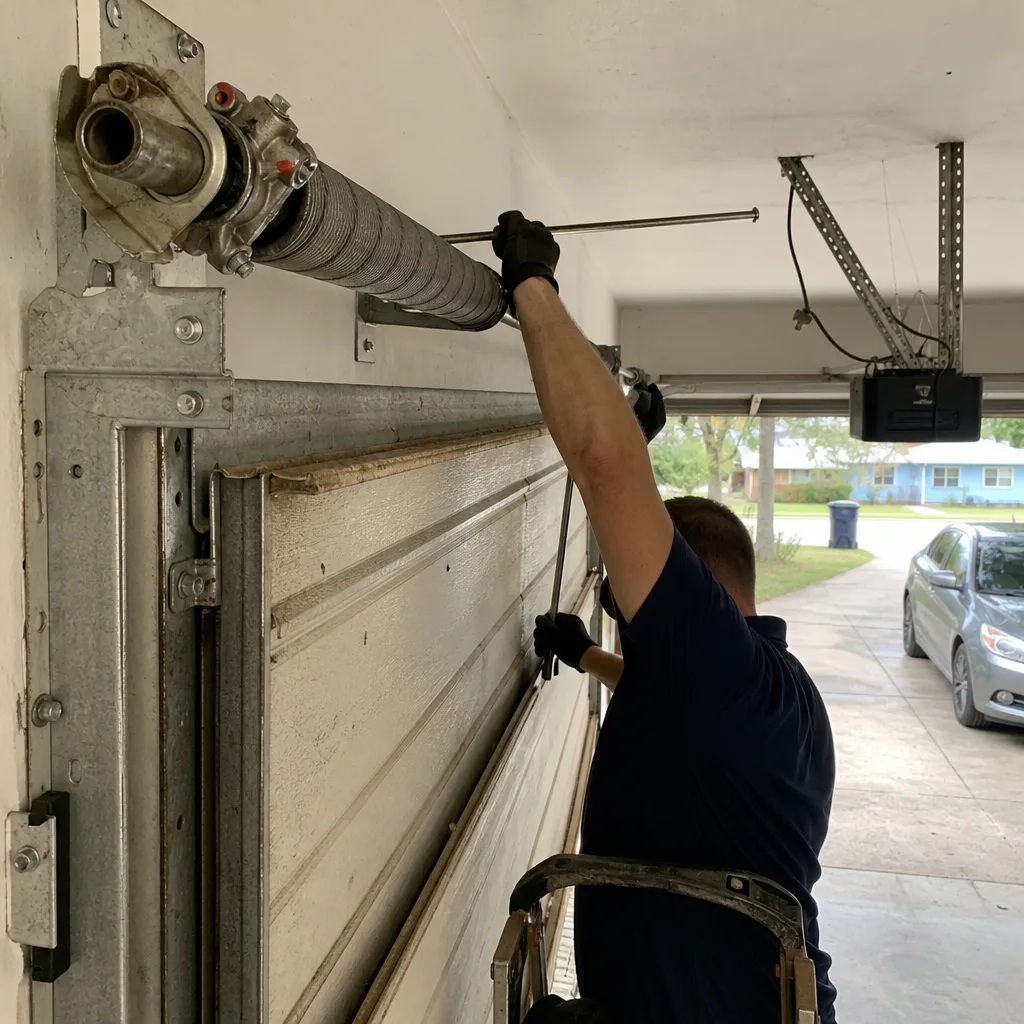 Before
 After
After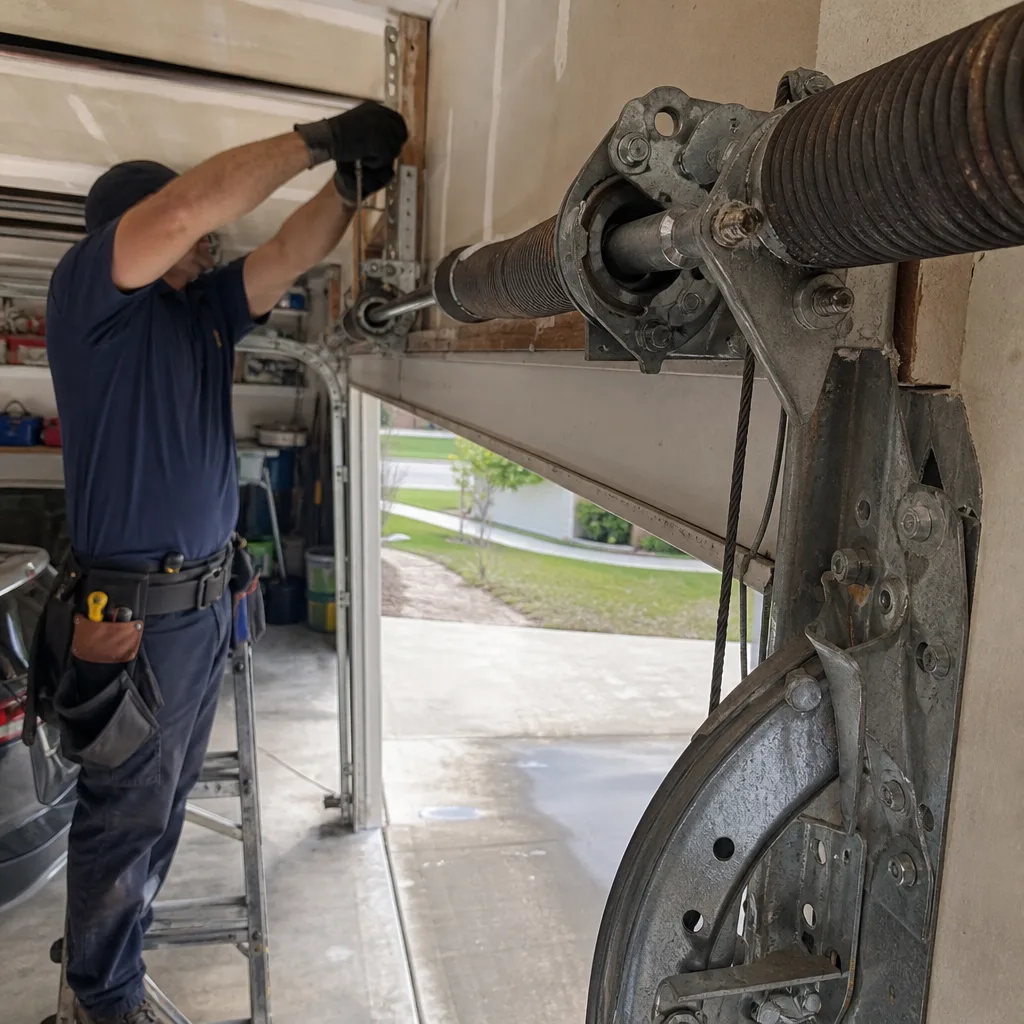 Before
 After
After